Categories
Uncategorized

I changed an ebike tire!

Changing an ebike tire

Yes, the title is a little cheeky. Back in 2024 I changed a bike tire and the post is slightly silly. I mean, I’ve changed tires before in my life, but it had been a while. As a cyclist I know I should know more bike maintenance, but sometimes it takes me a while. I’ve probably changed a few more tires since then. (But I also switched to Schwalbe tires!)

About a month ago I got a new studded front tire for my bike, along with a spare rim. I tried to assemble it all, but I gave up and had Bigfoot do it for me because Brian is awesome like that. He charged me a small fee and gave me a bunch of tips. I think the tricky part for me was that I’ve only done skinny tires before not wider tires.

So when I was about to leave work on Friday I noticed I had a flat tire. In the rear. Argh. I ended up getting a ride home and figure I would deal with it over the weekend. I could bug Brian again, or try Eriks’s or Wheel & Sprocket, but with a whole Saturday ahead of me I decided to try it myself. I started by watching a bunch of videos about changing an ebike rear tire.

Oh, when I changed my Trek rear tire I could do it without a bike stand. It wasn’t fun, but it worked. I then cobbled together a crappy DIY PVC stand, which is fine for light bikes but not the heavy ebike.

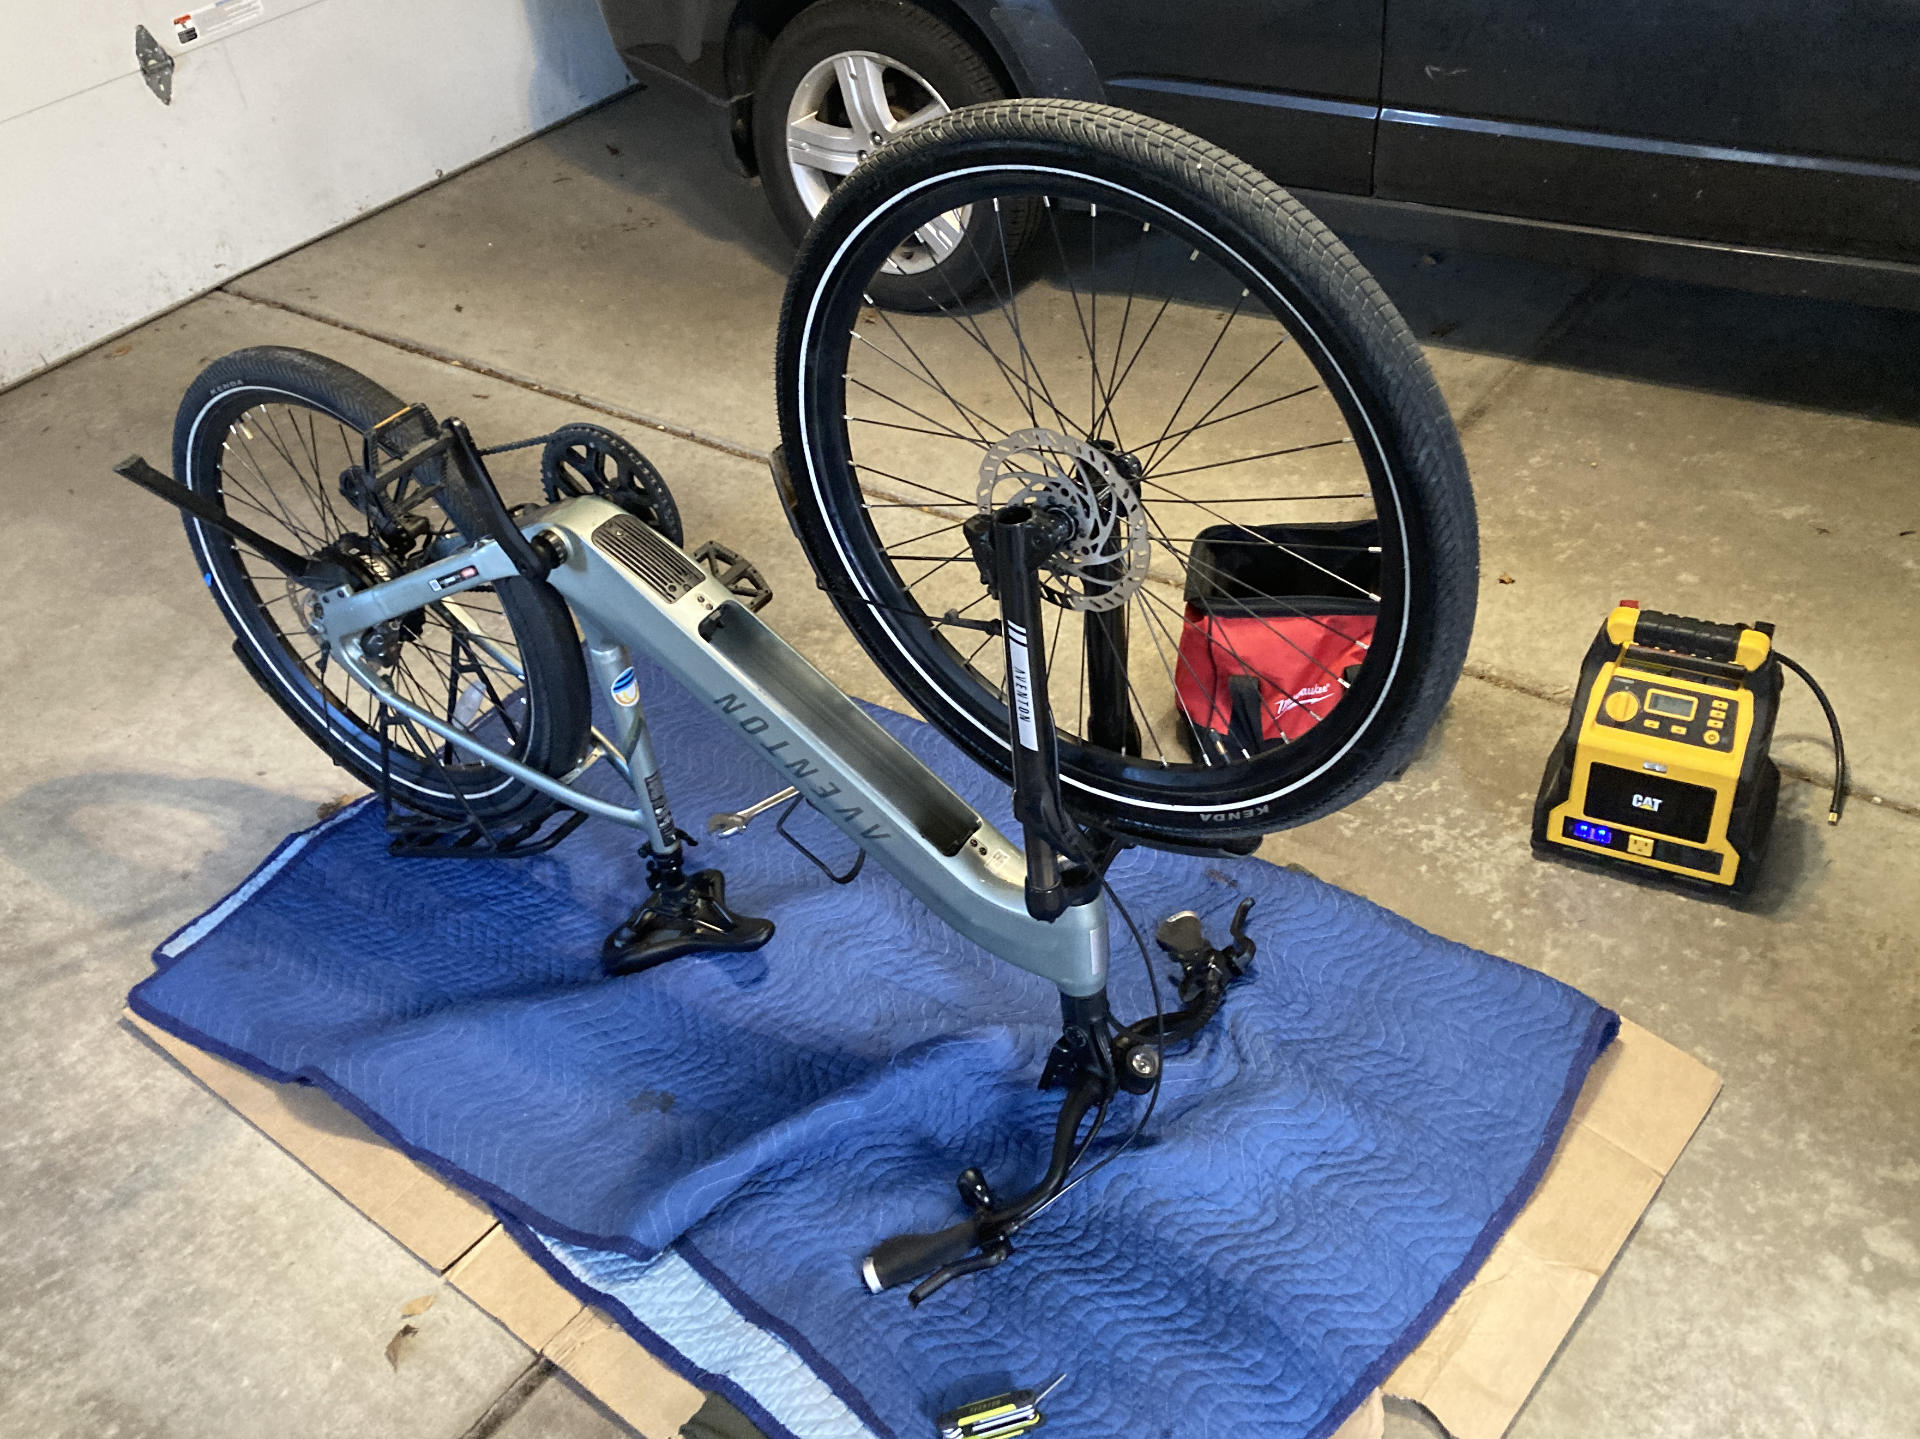
I had to remove a bunch of my handlebar stuff (light, camera mount, bell, bag) and then loosen up the display to rotate it out of the way, and the flip the bike over. It wasn’t fun, but it worked.
Changing an ebike tire

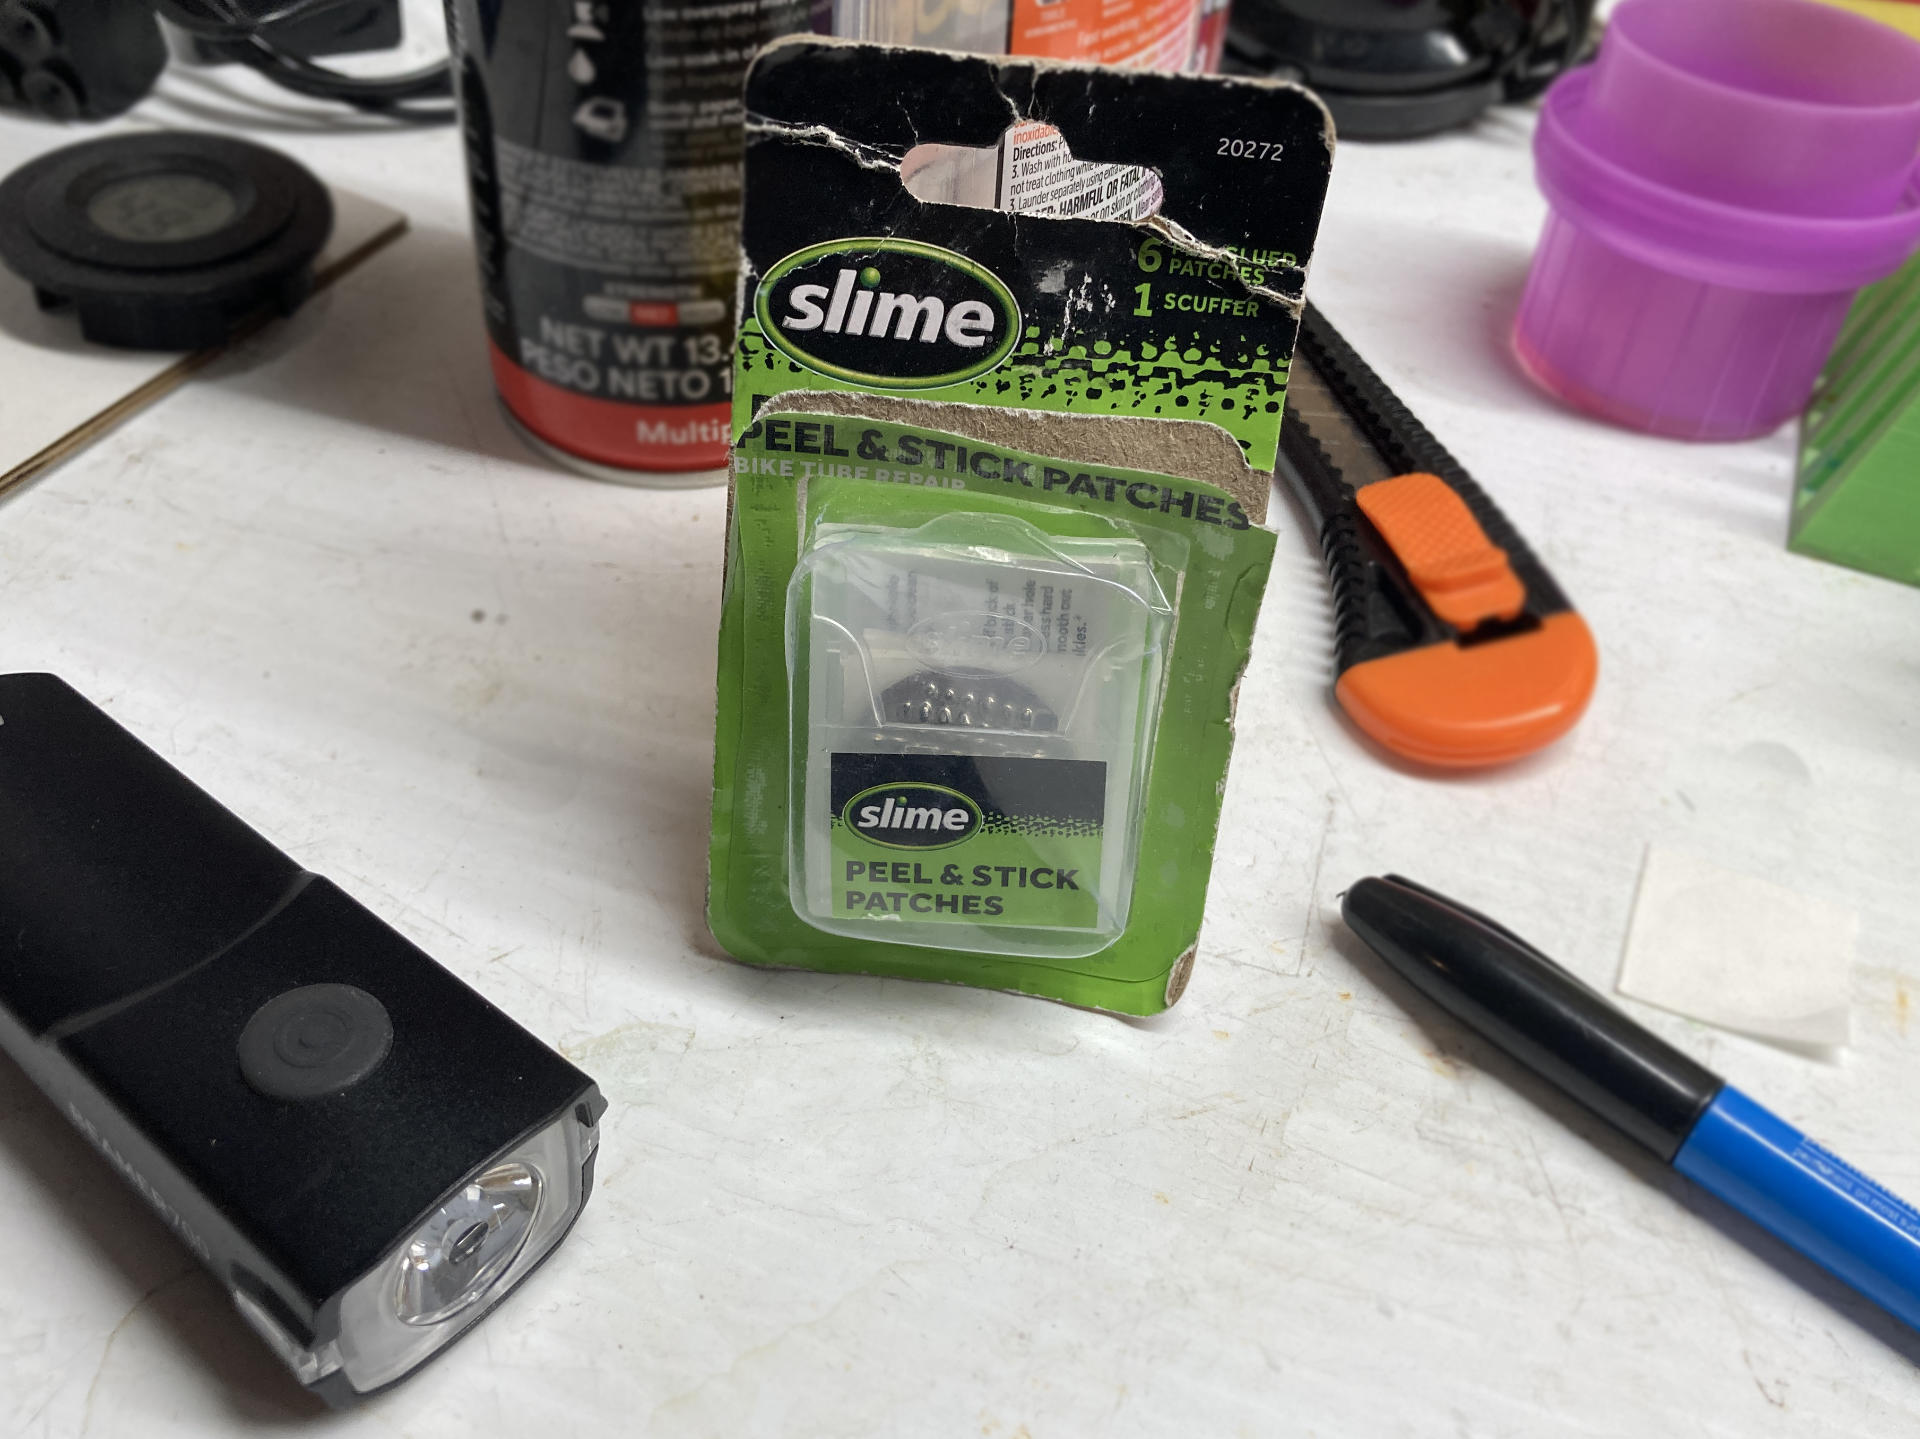
Once I had the rear wheel off I carefully rotated it while using my bike light to look for damage… which was silly, because after I rotated it about half way I found a giant staple sticking out of the tire. I removed it easily. From there I did the “inflate tube, rotate through a tub of water” trick to find the hole. It was tiny, but enough to cause a flat. I used a Slime patch to fix it and then confirmed it was air-tight.
Changing an ebike tire

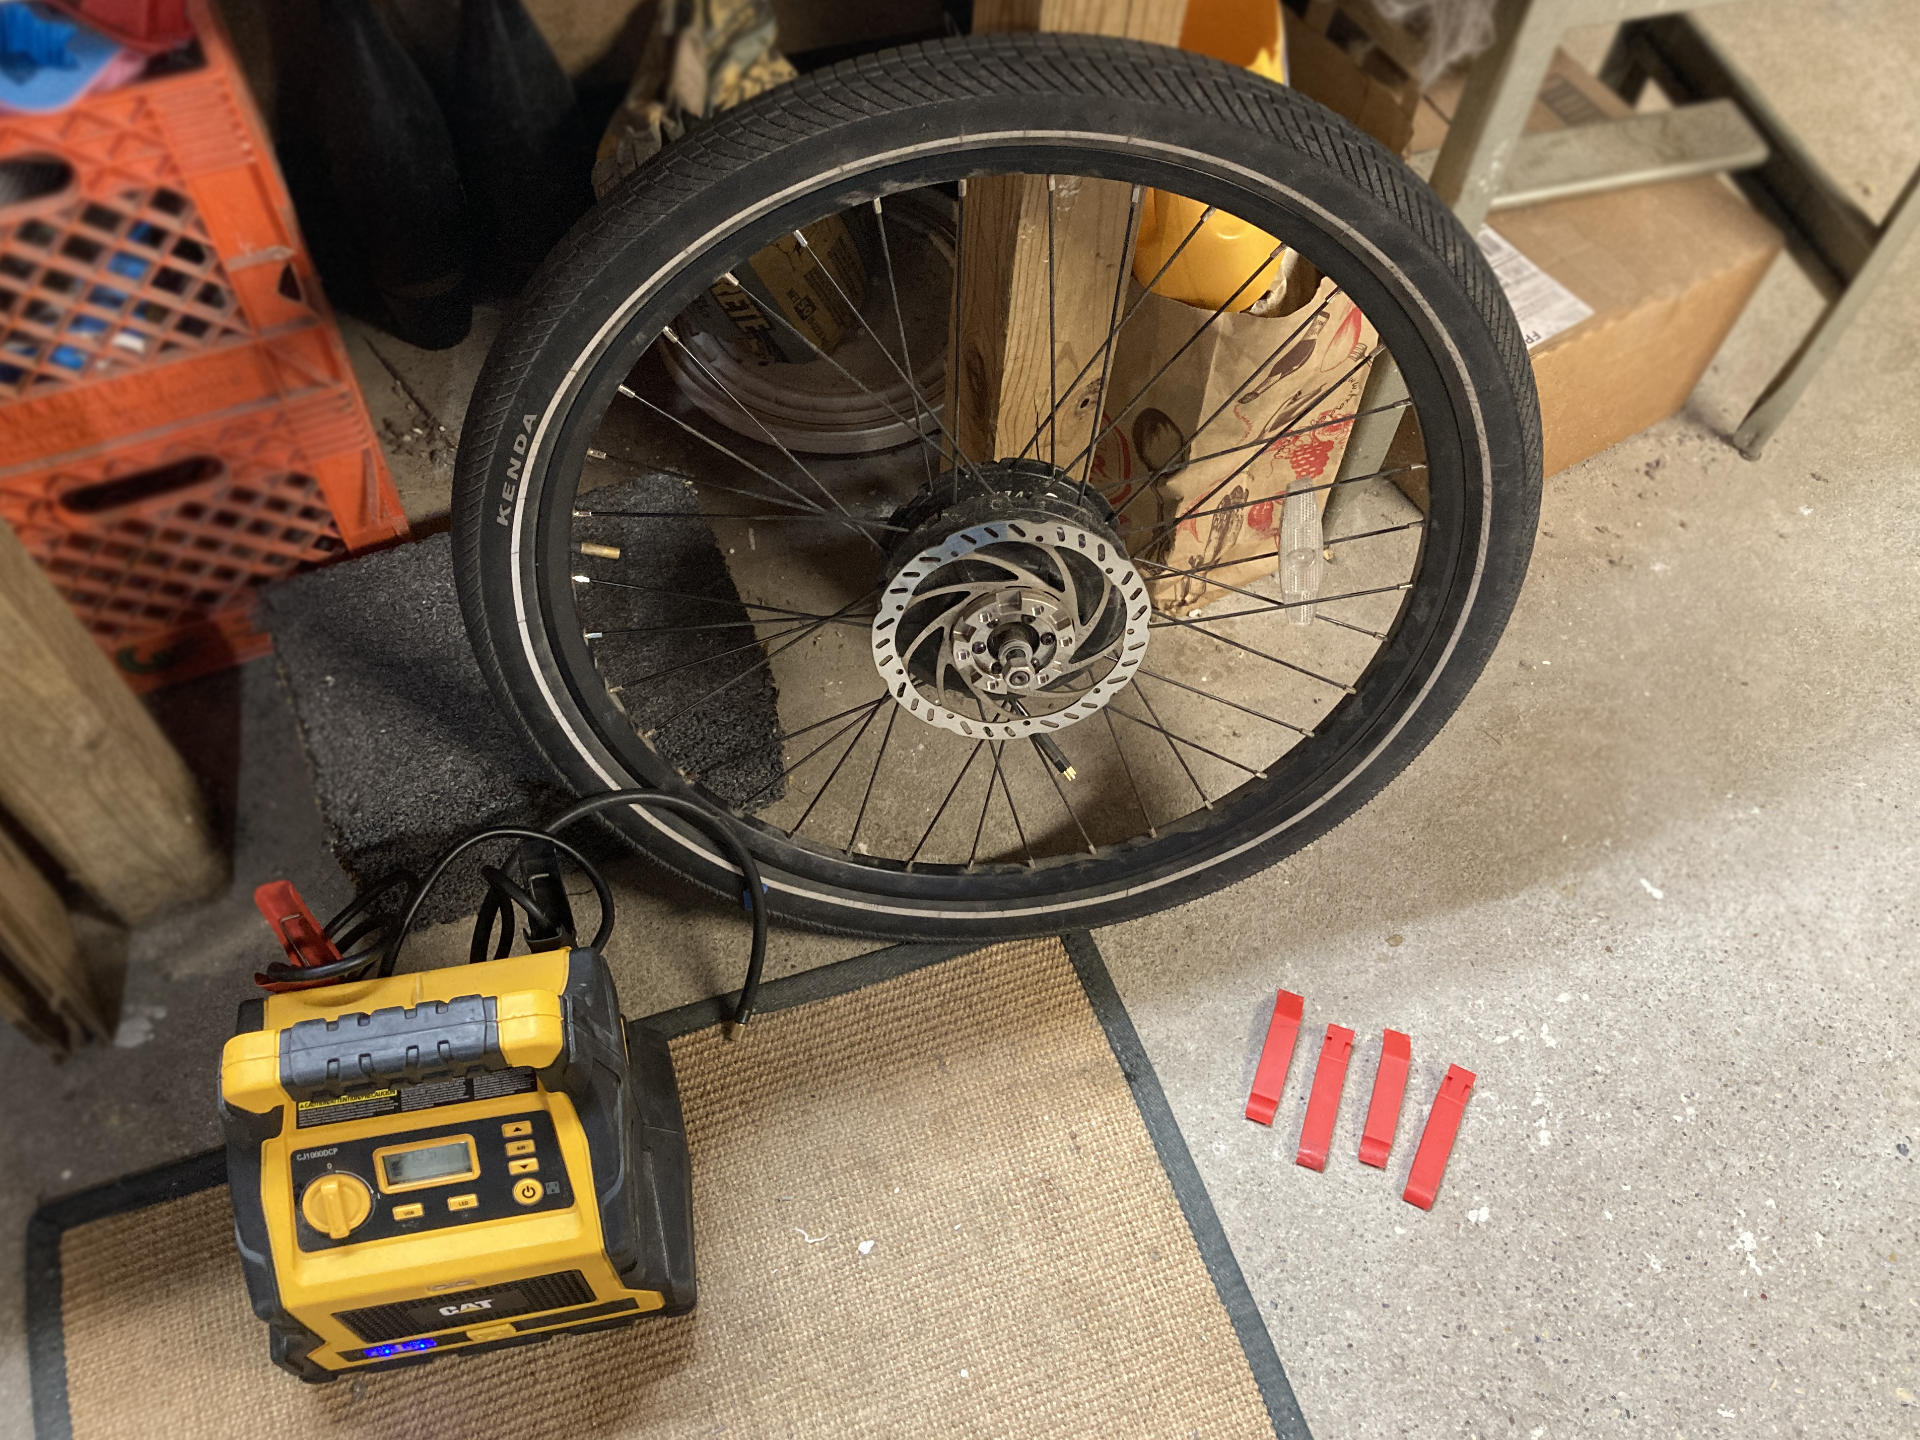
I did not remove the tire though, and just left it on the rim. (Another trick I had read about.) Since I was able to get the tube out and leave the tire (mostly) on the rim it was just a matter of reversing the process to get it back together. I then inflated the tire and let it sit for a few hours to make sure it was good.

So many hours after starting the process I had the rear wheel back on the bike. There is one additional cable due to the hub motor, but otherwise it wasn’t much different than an acoustic bike. I’m glad I’ve done it though since it’ll be easy if (when?) I have to do it again.

Oh, there’s one more thing…

I don’t know if it’s due to the bike being upside down for so long, but when I was done and did a little test ride the rear brake did not work! Well, it sort of worked, I just had to squeeze it all the way. So a “spongy” brake is what I had. I then did a lot of reading about bleeding hydraulic brakes, what is need, how to do it, etc…

But I found a trick, well, a suggestion, really.

I pulled the brake lever all the way, and the zip tied it in place, and waited. The next day I removed the zip tie and all was good! Brake back to normal. Whew! But hey, at least I now know all about bleeding brakes, in case I need to actually do it in the future.


Note: This post may contain Affiliate Links. Read More.
Categories
Uncategorized

Bike Light – Downtube – White LED Strip V2

Bike Light – Downtube – White LED Strip V2

In a post from a year ago (Bike Light – Downtube – White LED Strip) I ended musing about using COB LED strips for a downtube bike light. Well, I wasted about 10 months thinking about it then had to build it before DST hit.

Bike Light – Downtube – White LED Strip V2

Since the whole thing was a rush job I don’t have a lot of good photos but I’ll share what I’ve got.

Bike Light – Downtube – White LED Strip V2

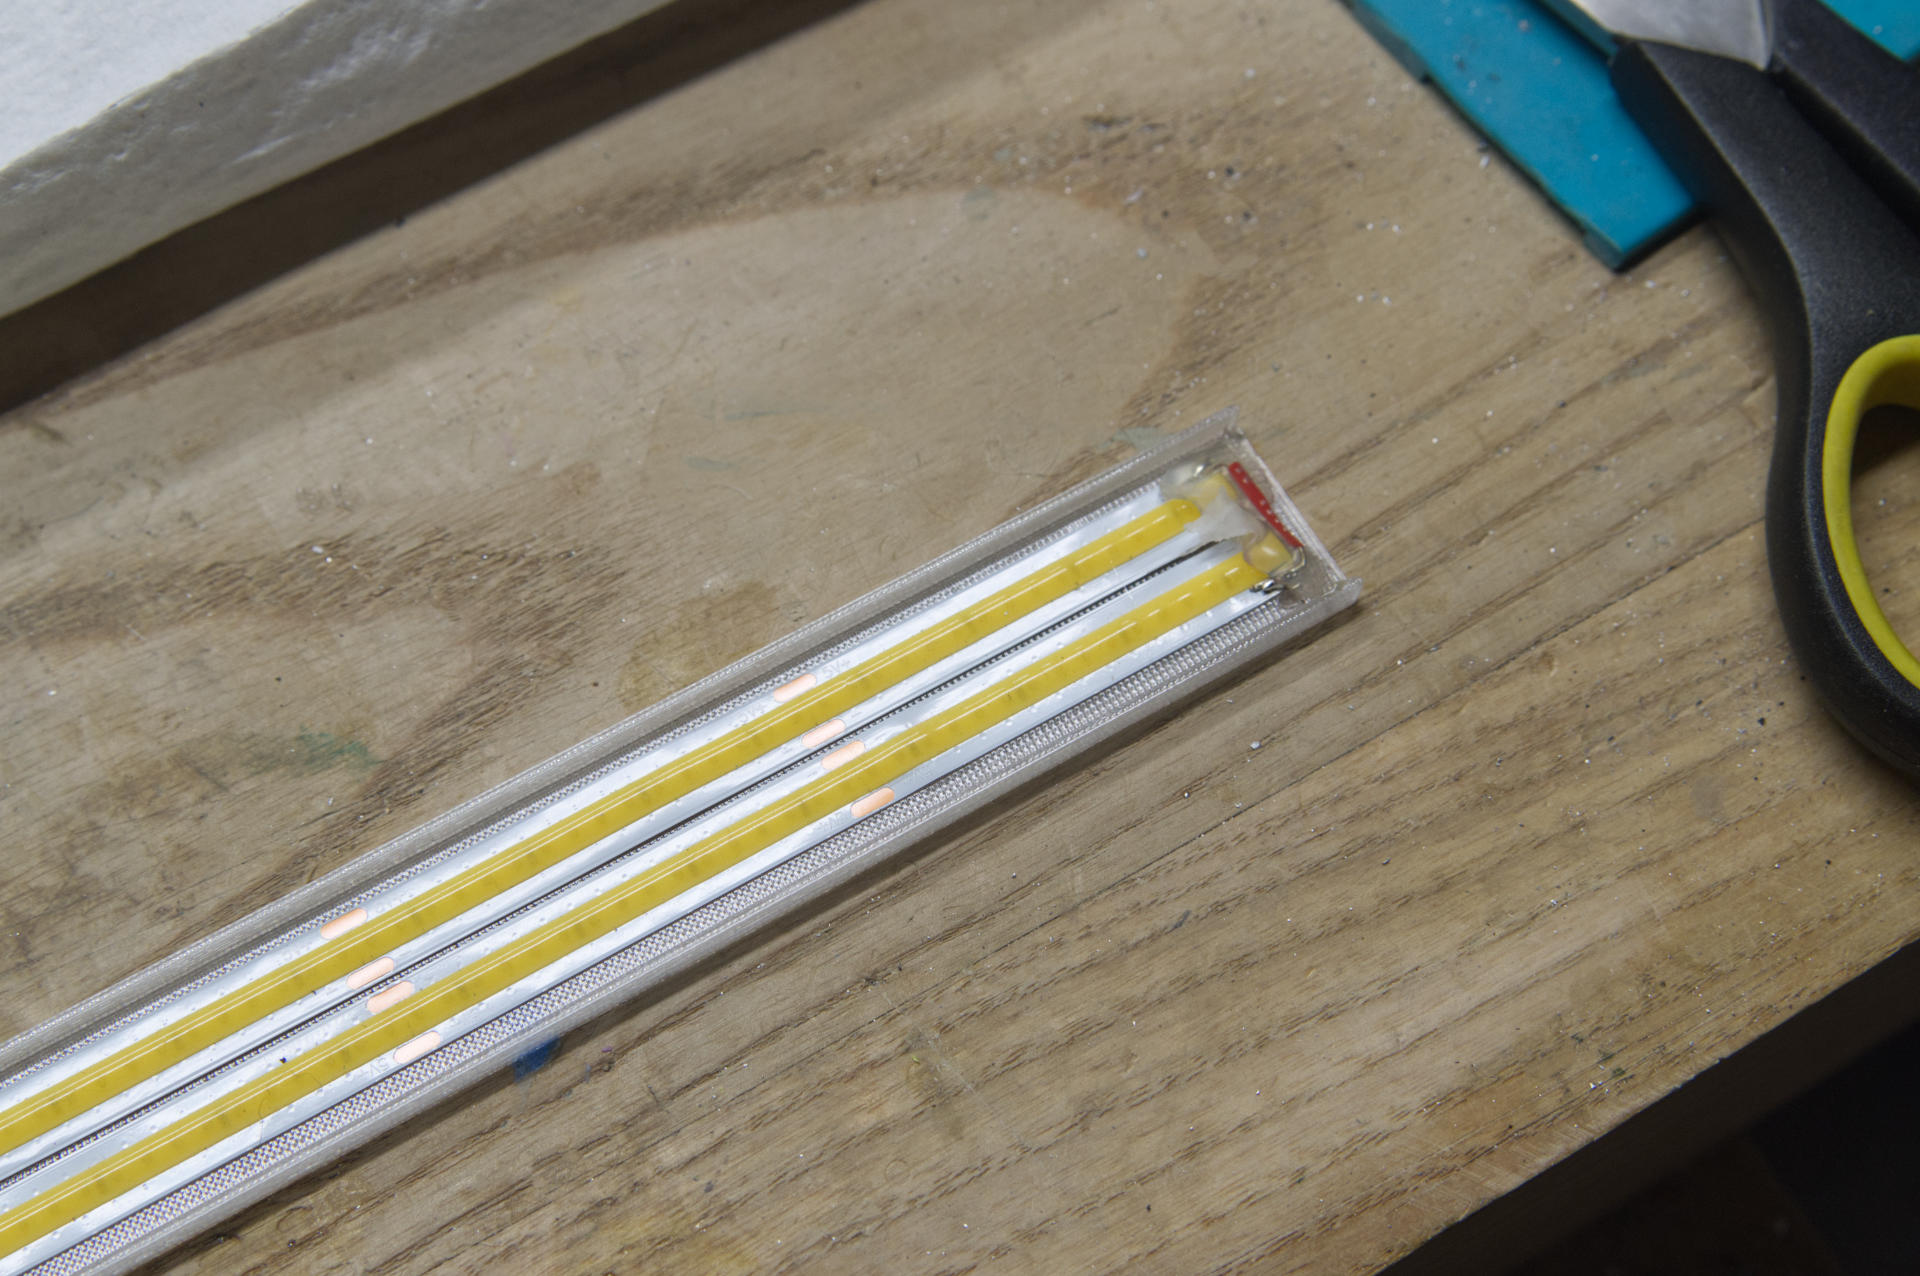
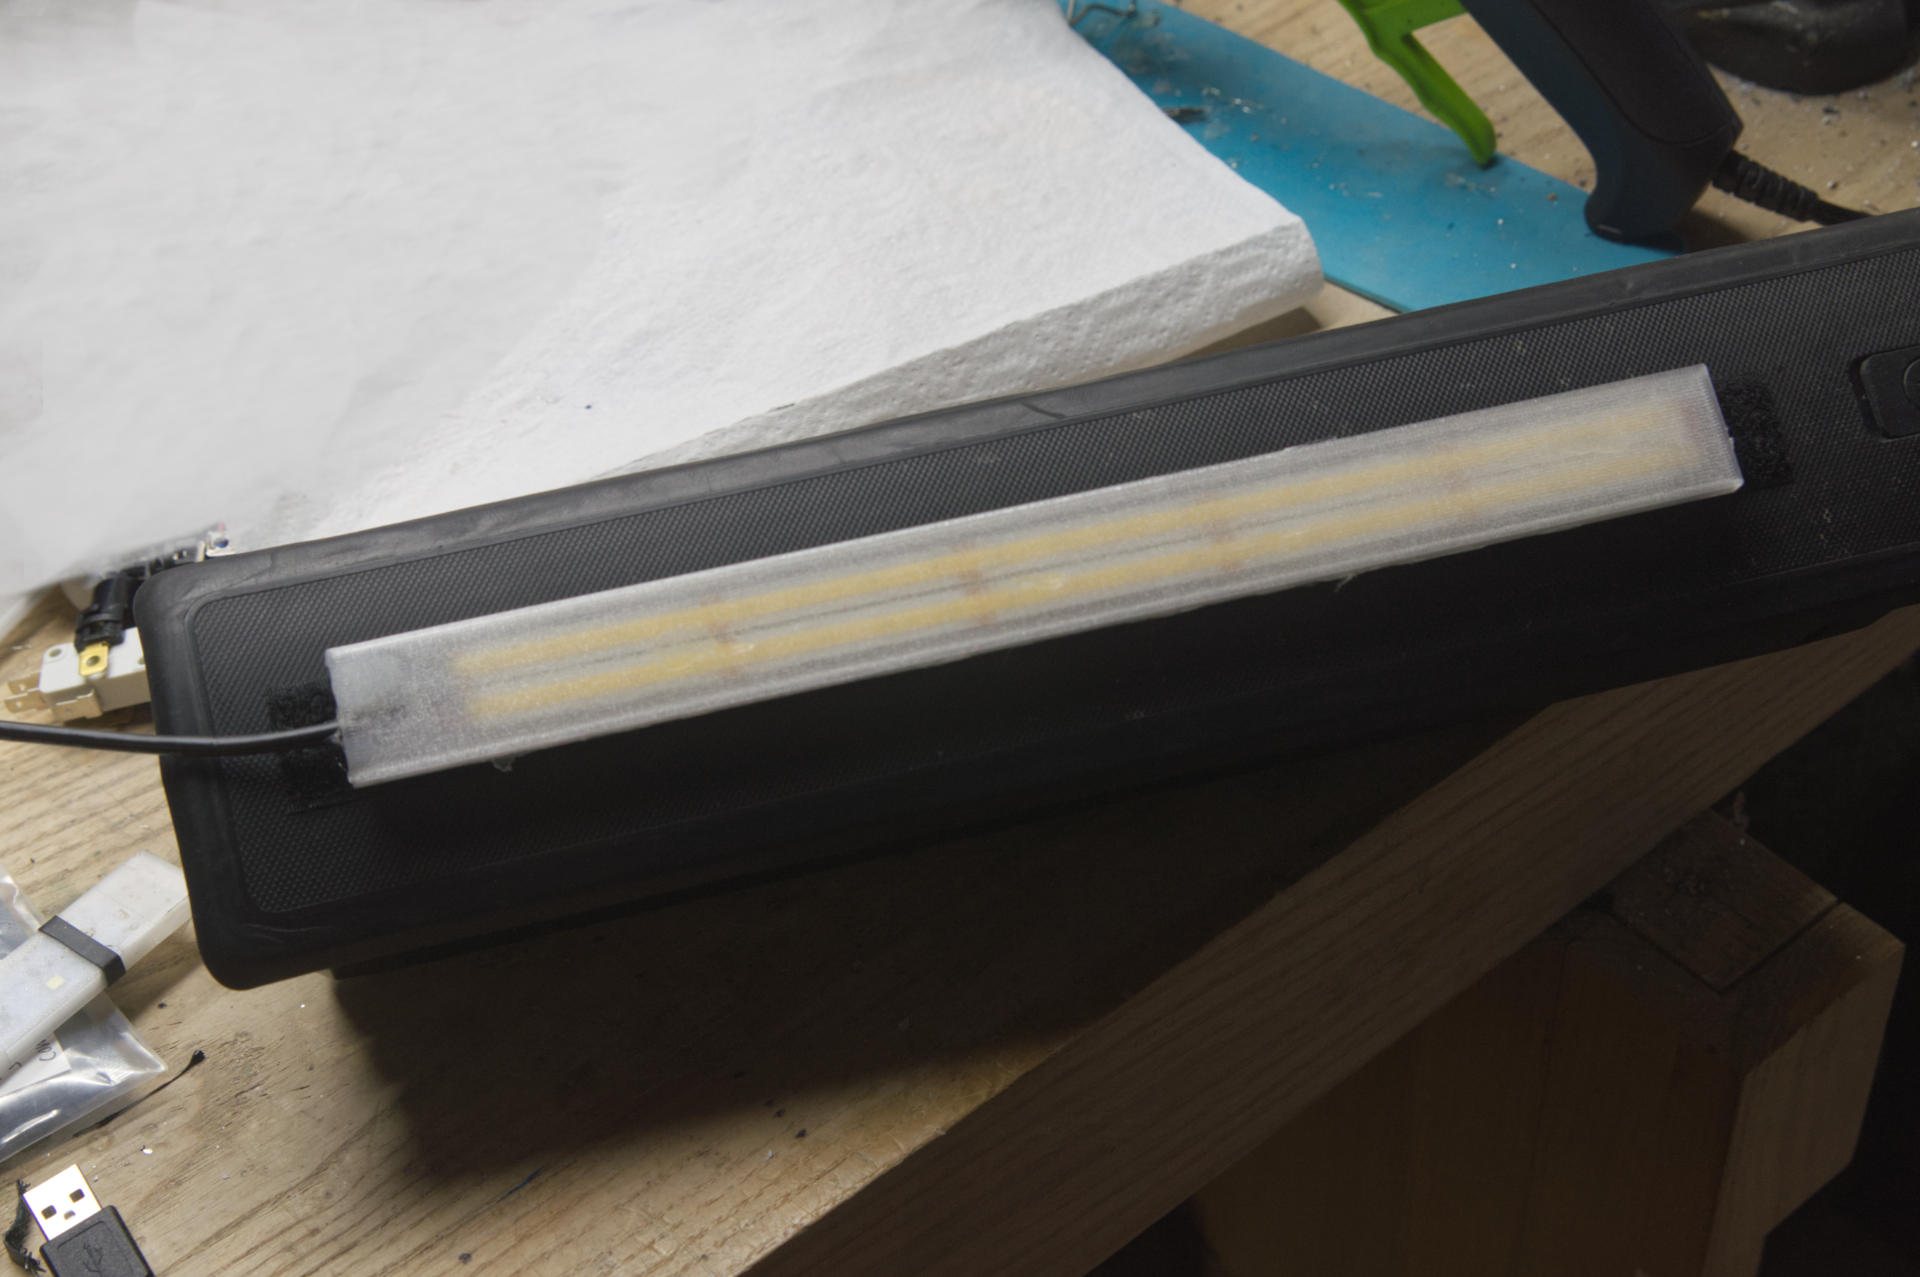
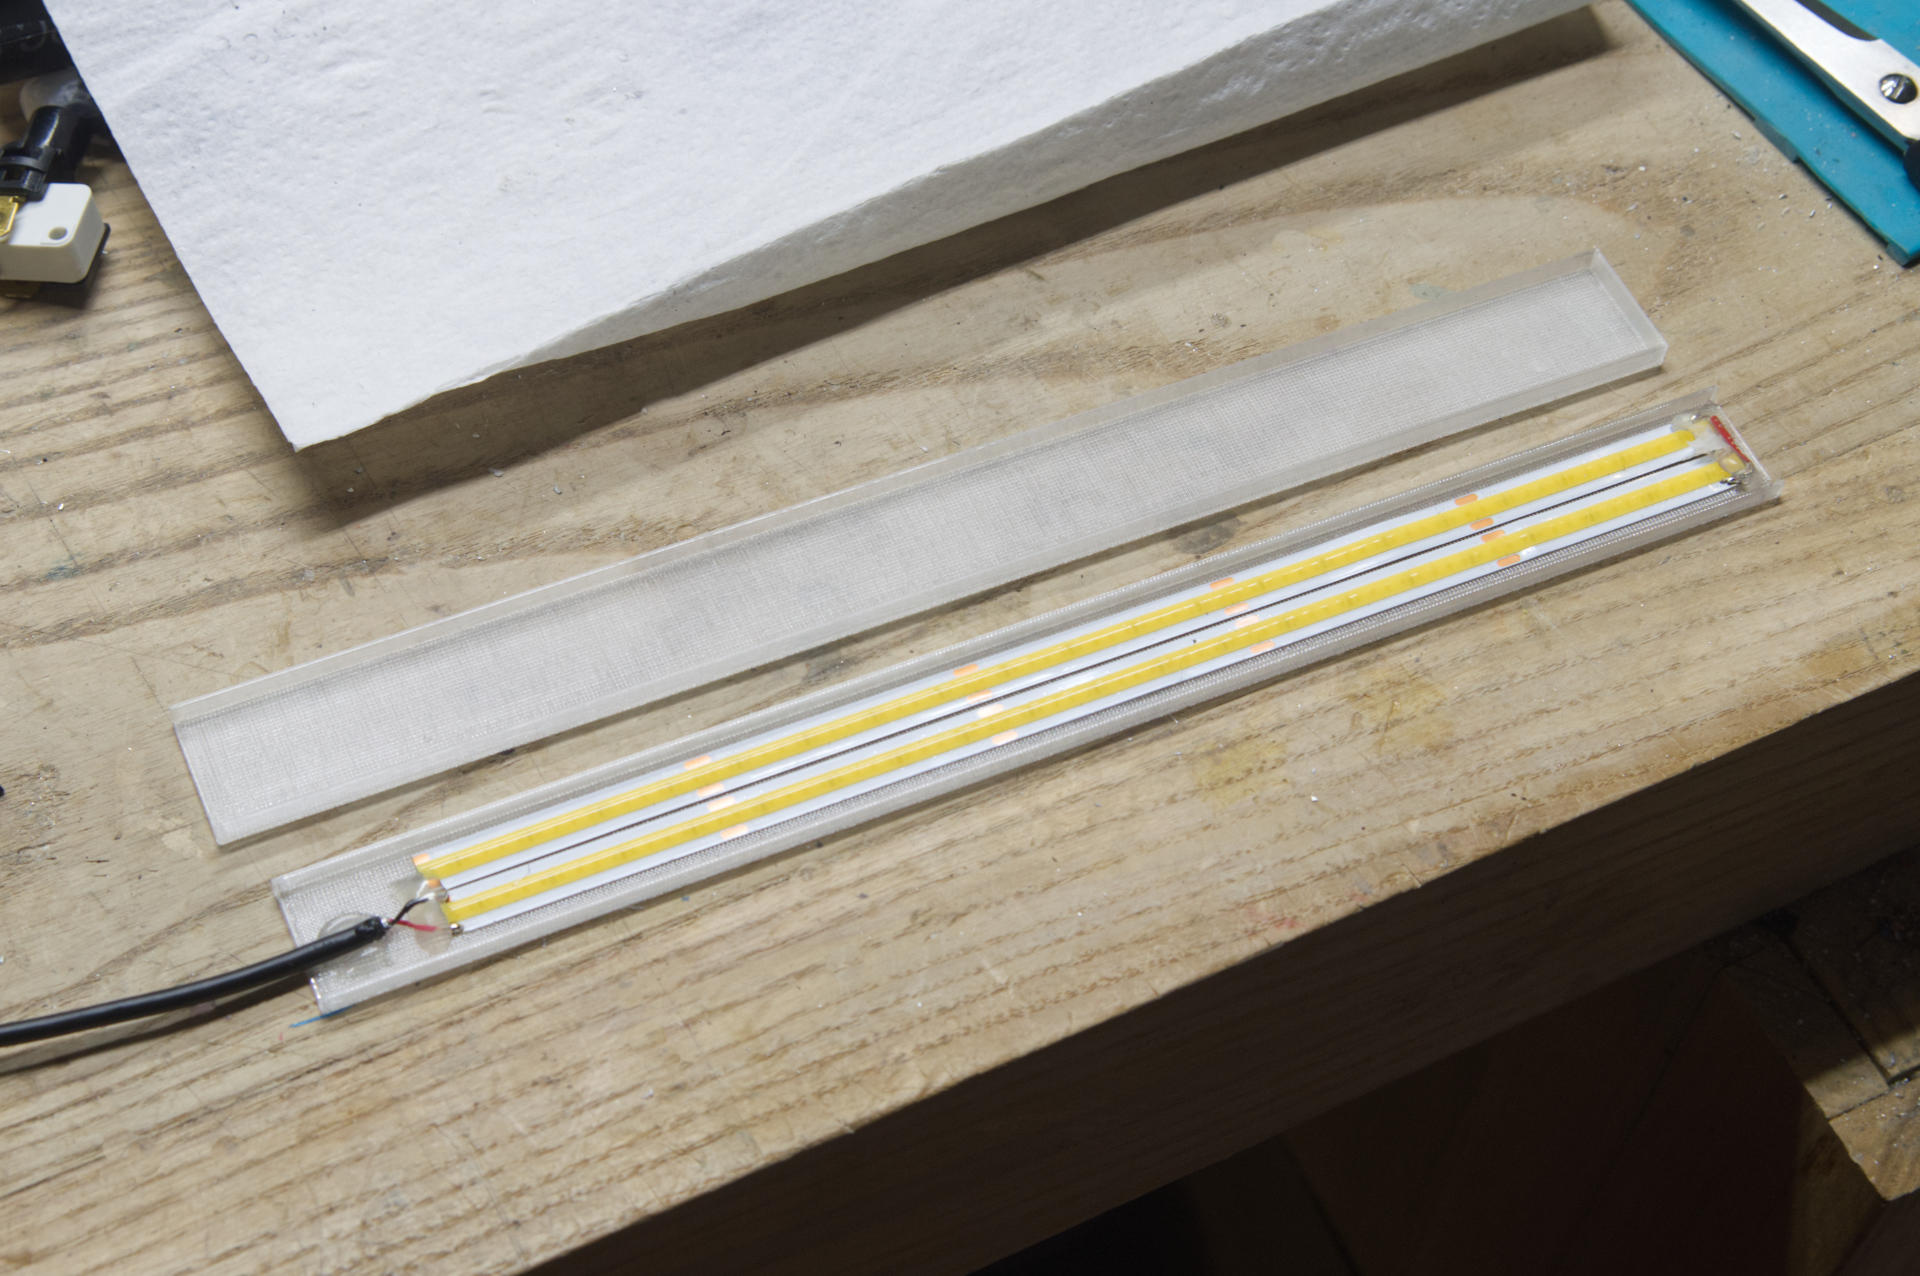
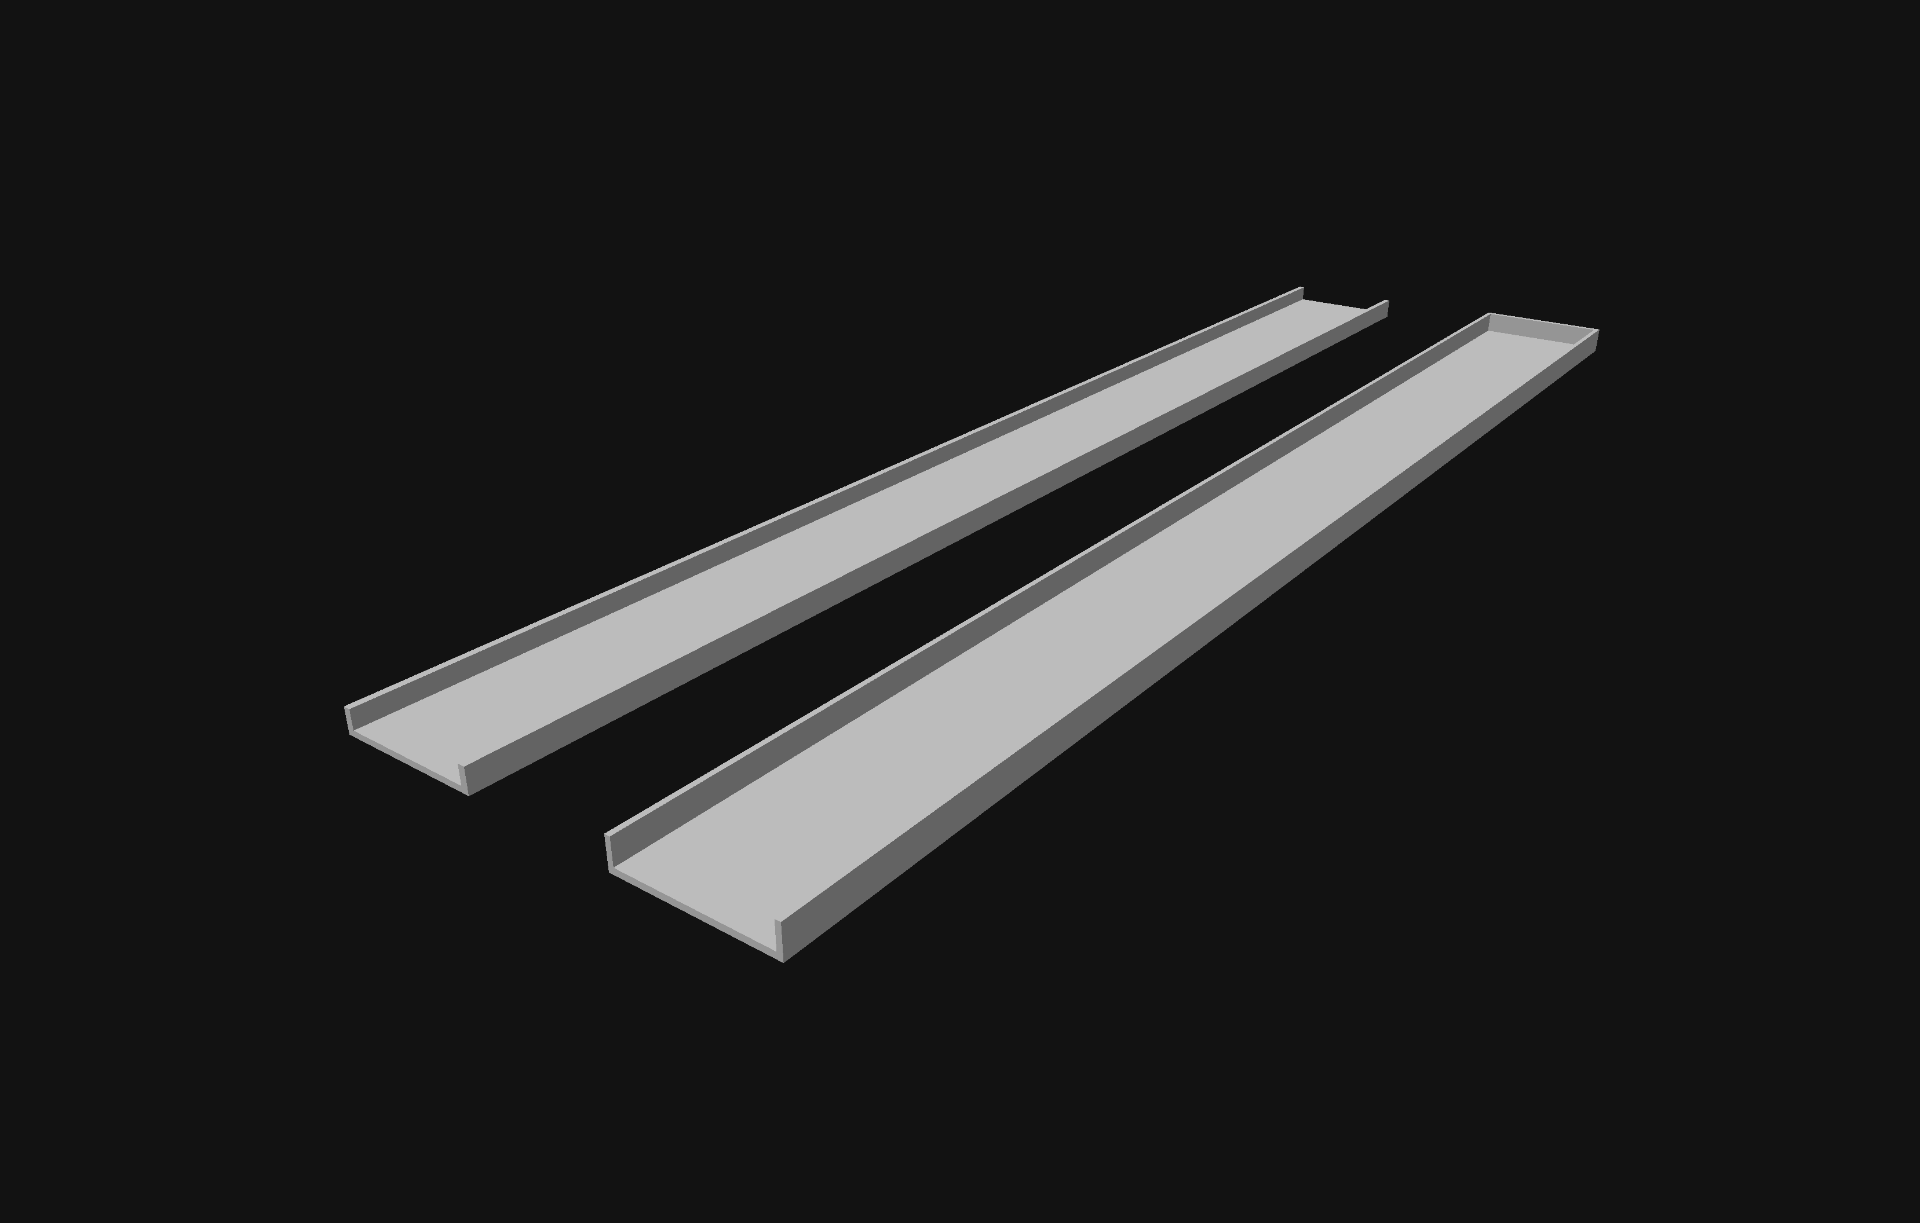
I decided on a shorter strip because the old one was a little long and blocked the charging port. I made it about the right size to print just two pieces of plastic on a 256mm x 256mm print bed.

Bike Light – Downtube – White LED Strip V2

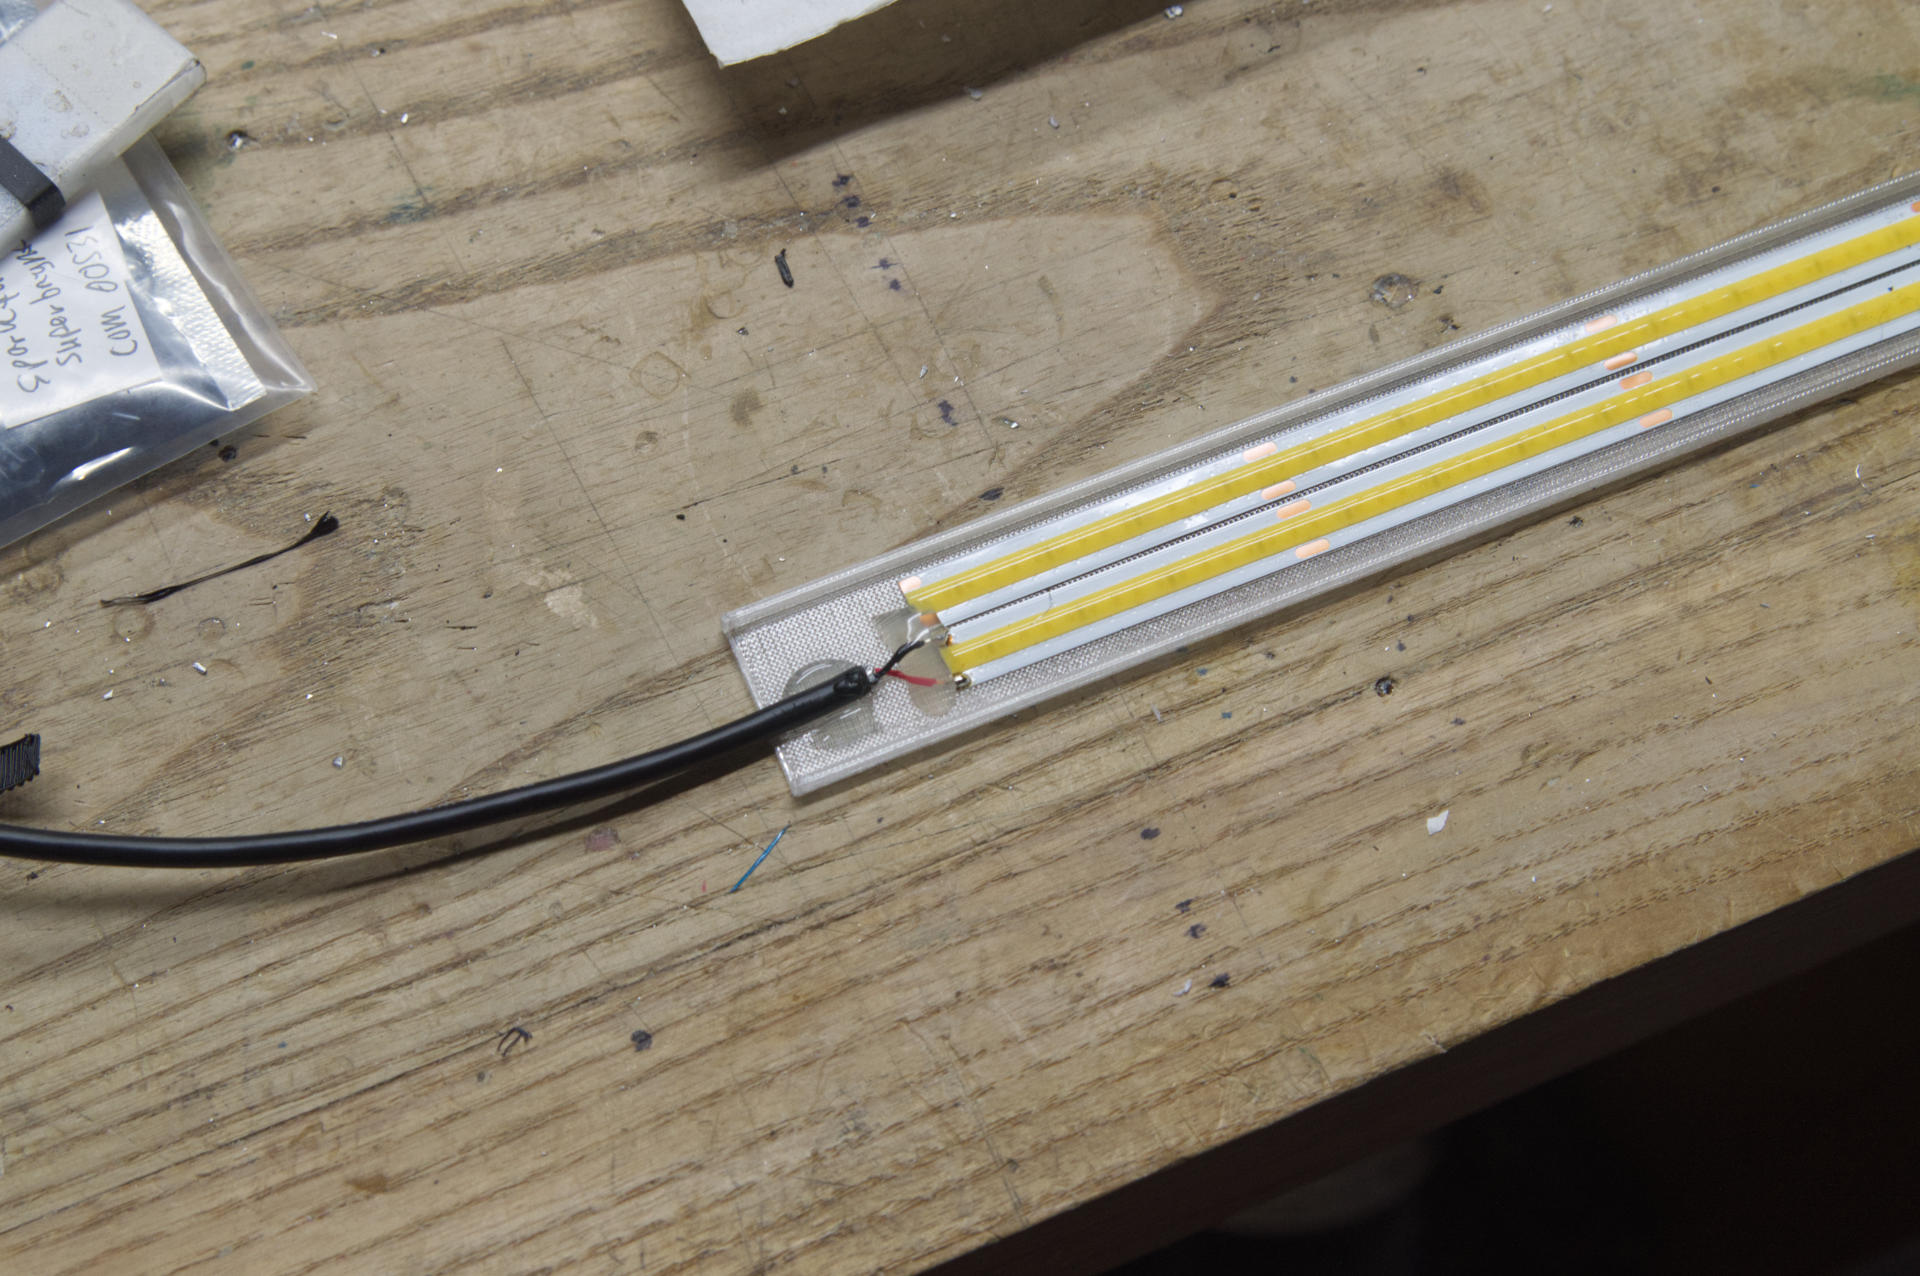
The strips have adhesive backing so I just had to stick them down to the plastic and solder two wires in place since I was running one single strip at 5 volt from a USB power bank.

Bike Light – Downtube – White LED Strip V2

I cut a USB cable just the right length and soldered that in place to power the strip. I don’t have a photo of it but I added a giant glob of hot glue one assembled to make it waterproof. I also glued both pieces together so there’s no easy way to open and repair this. (It shouldn’t need repairs as there’s not much in there.)

Bike Light – Downtube – White LED Strip V2

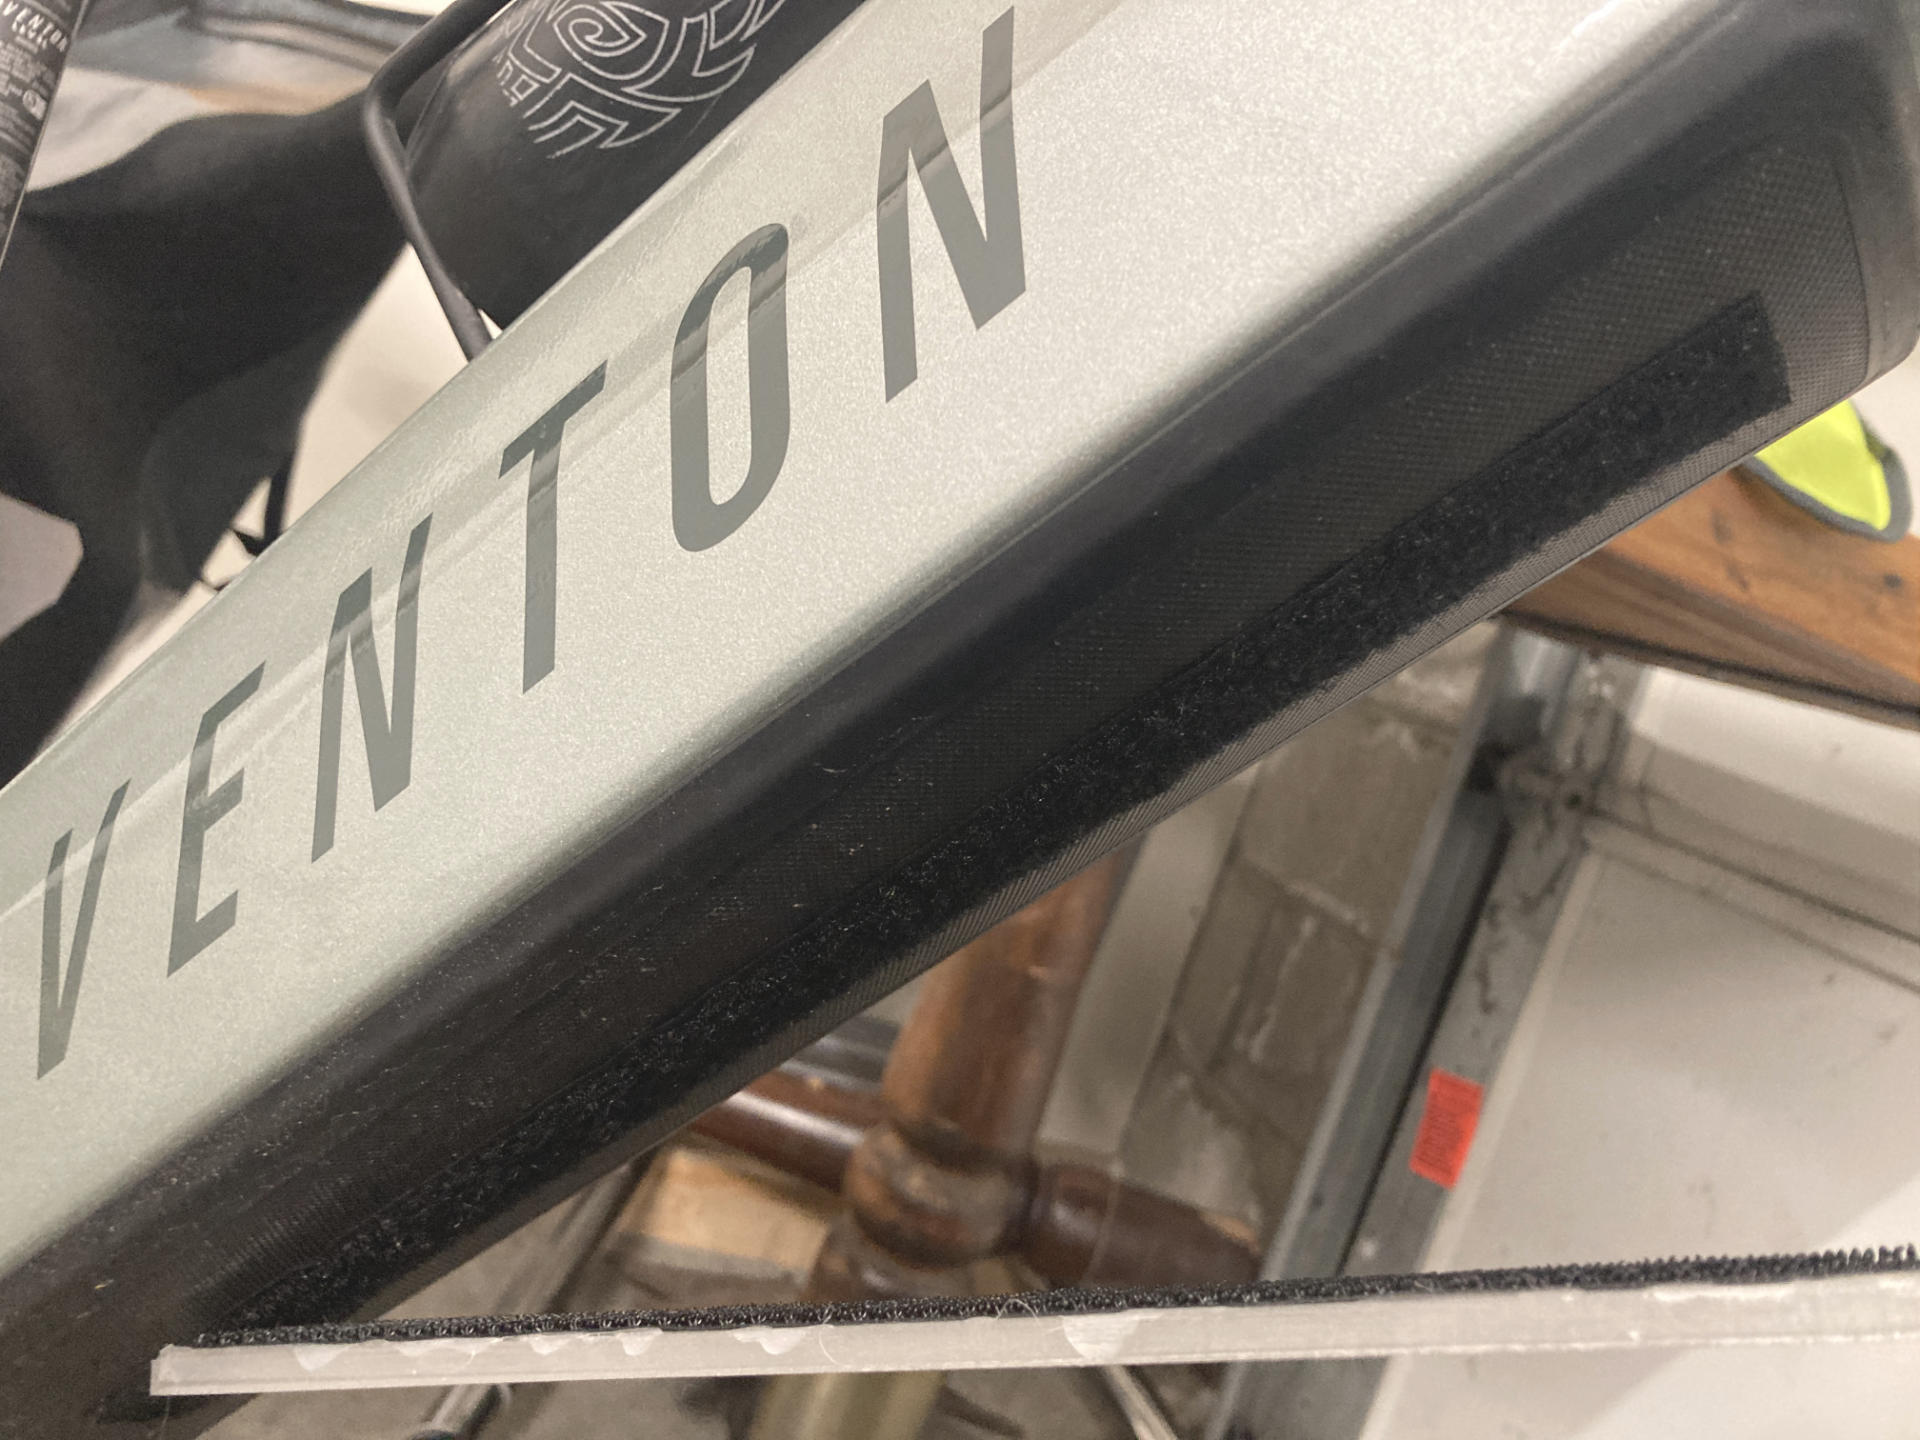
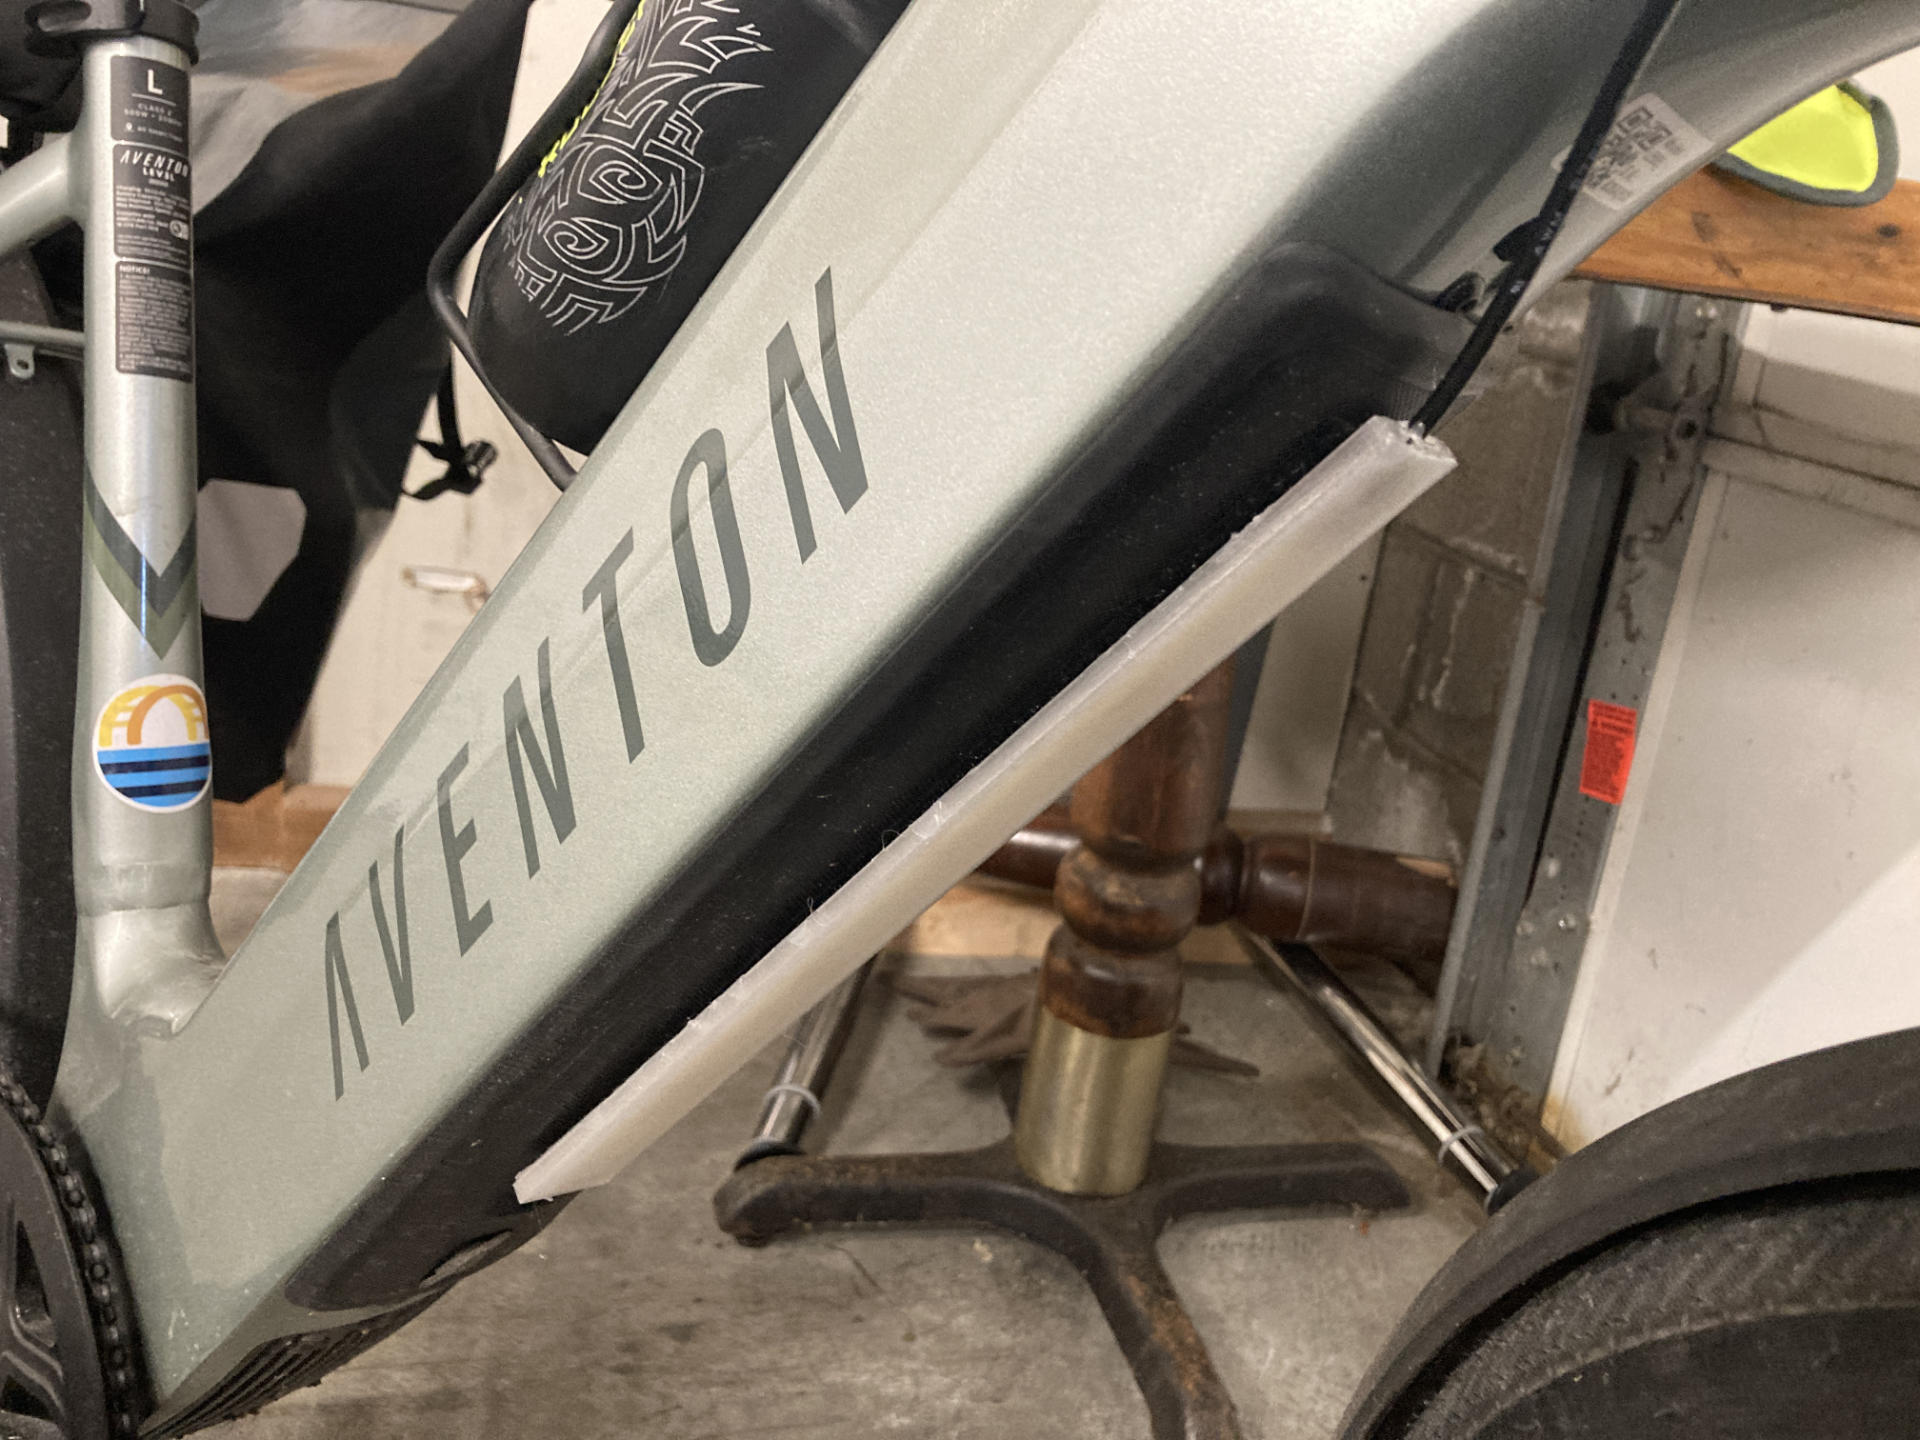
For attaching it to my bike I just used some adhesive hook & loop with one side stuck to the ebike battery and the other to the COB LED strip. This makes it really easy to attach and remove. No straps to worry about. Stick it on, peel it off.

Bike Light – Downtube – White LED Strip V2

The USB cable is just the right length to run up to the handlebar bag where I have the USB power bank I use to power my 6 year old phone with a crappy battery.

Bike Light – Downtube – White LED Strip V2

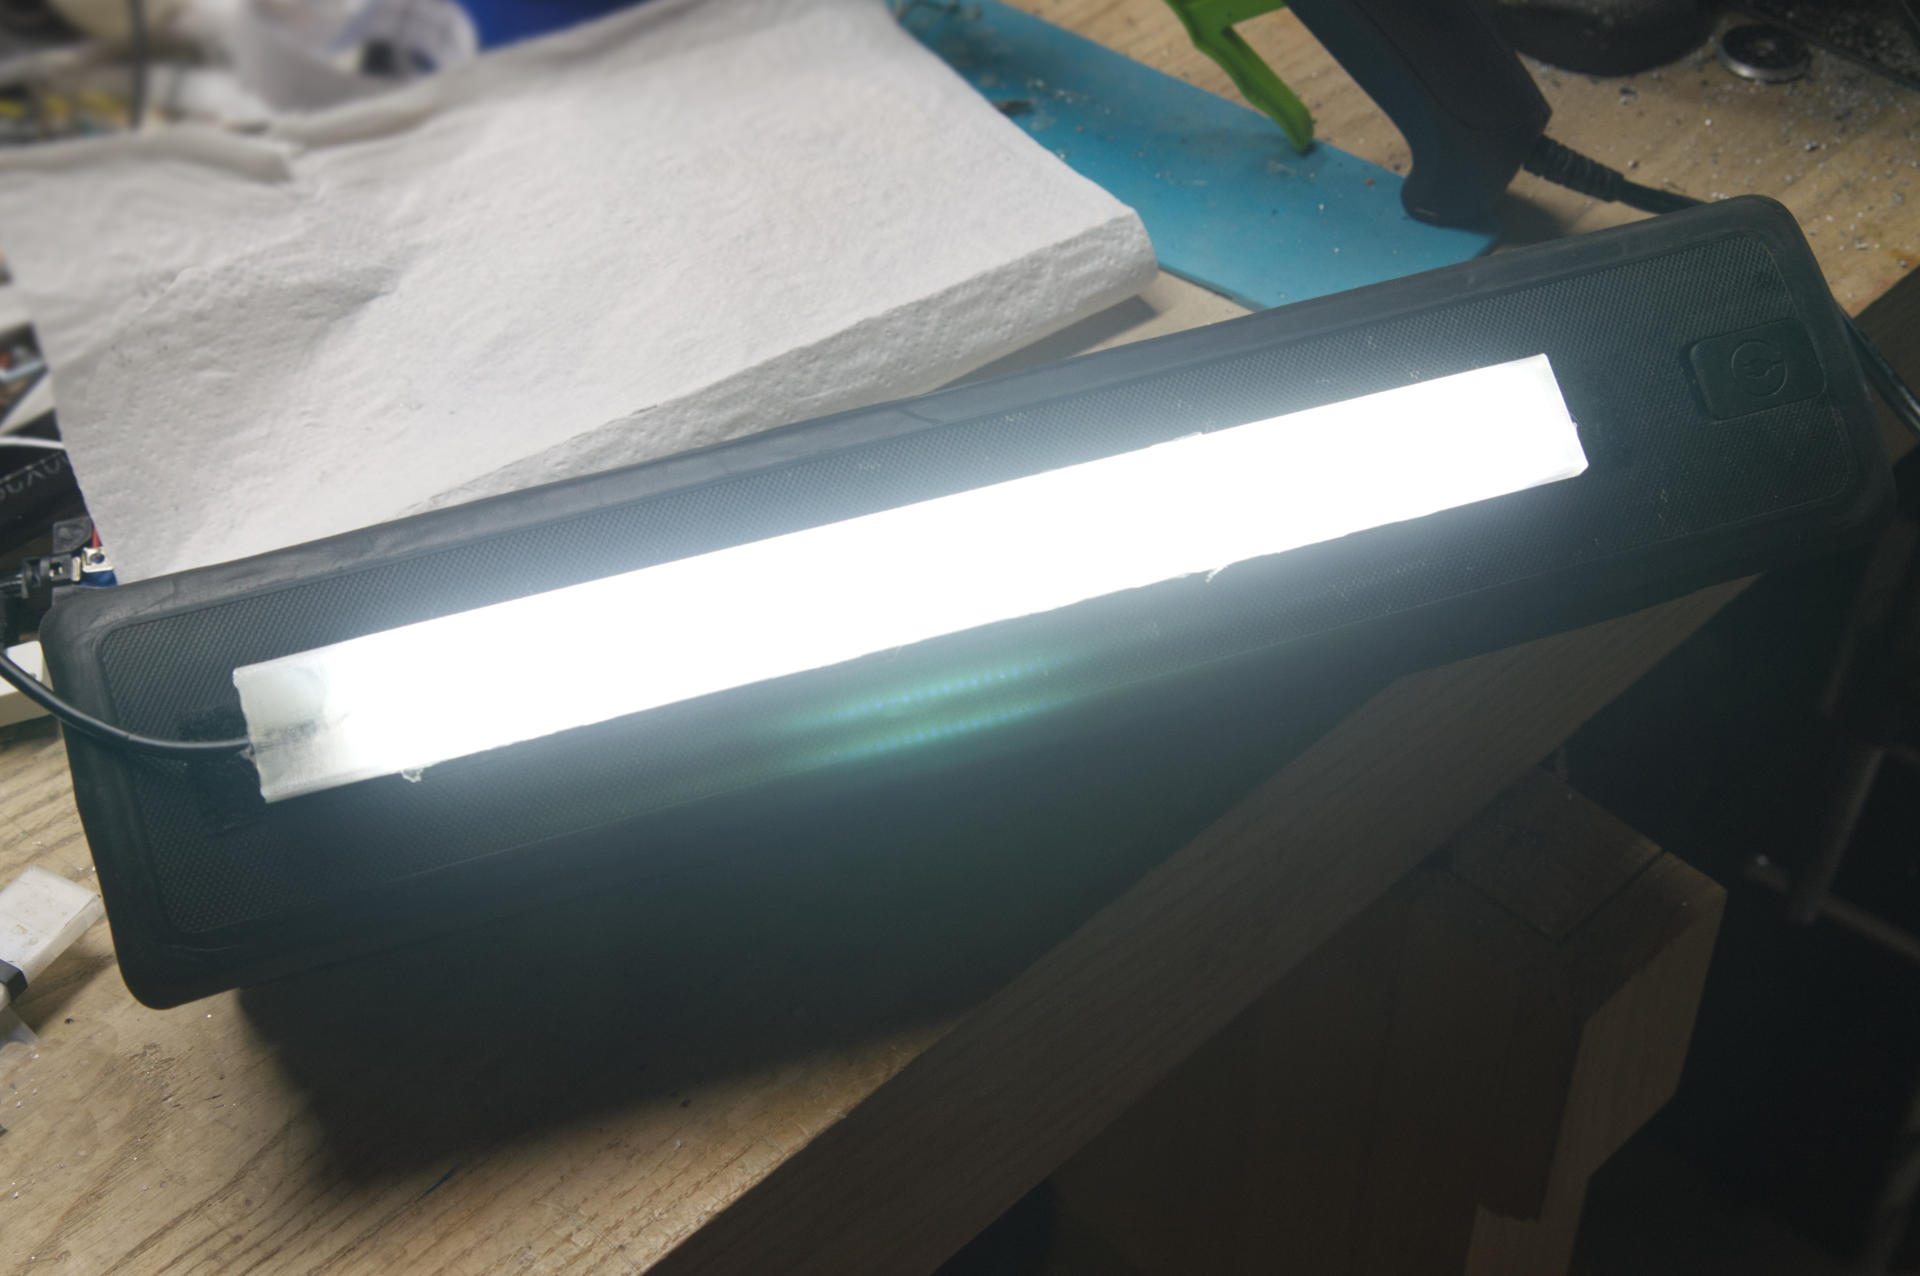
I think it’s just as bright as the old one, but it is a little shorter, so there’s less light at the end that is closer to the pavement, but it definitely does light things up.

Bike Light – Downtube – White LED Strip V2

I’m happy with how this turned out. I may try to build another one in the future. I could probably do a strip that is 3-wide. It’ll suck a little more battery but I have about 6 powerbanks and I can usually get two days out of one with plenty to spare before the next charge.


Note: This post may contain Affiliate Links. Read More.
Categories
Uncategorized

3D Printed Shoes?

FitX Shoes

I’ve been writing about 3D Printing since 2011 when I first got to see (and use) a MakerBot. We’ve come a long way since then, and I’ve used and owned a lot of printers since the first one I built in 2012. I currently manage 9 printers at work, and have 4 I use at home for my hobby business building controllers and electronic devices.

I remember reading an interview with Adrian Bowyer (who is recognized as the originator of the RepRap project) where he said you should be able to 3D print shoes for your child, and then as your child grows (along with their feet) you could print a new pair of shoes sized-up as needed. It was a neat idea, and it stuck with me.

I was recently contacted by FitX asking if I wanted to try a pair of 3D printed shoes. I’m actually due for a new pair of shoes so I said yes, and they asked if I’d be willing to write about it.

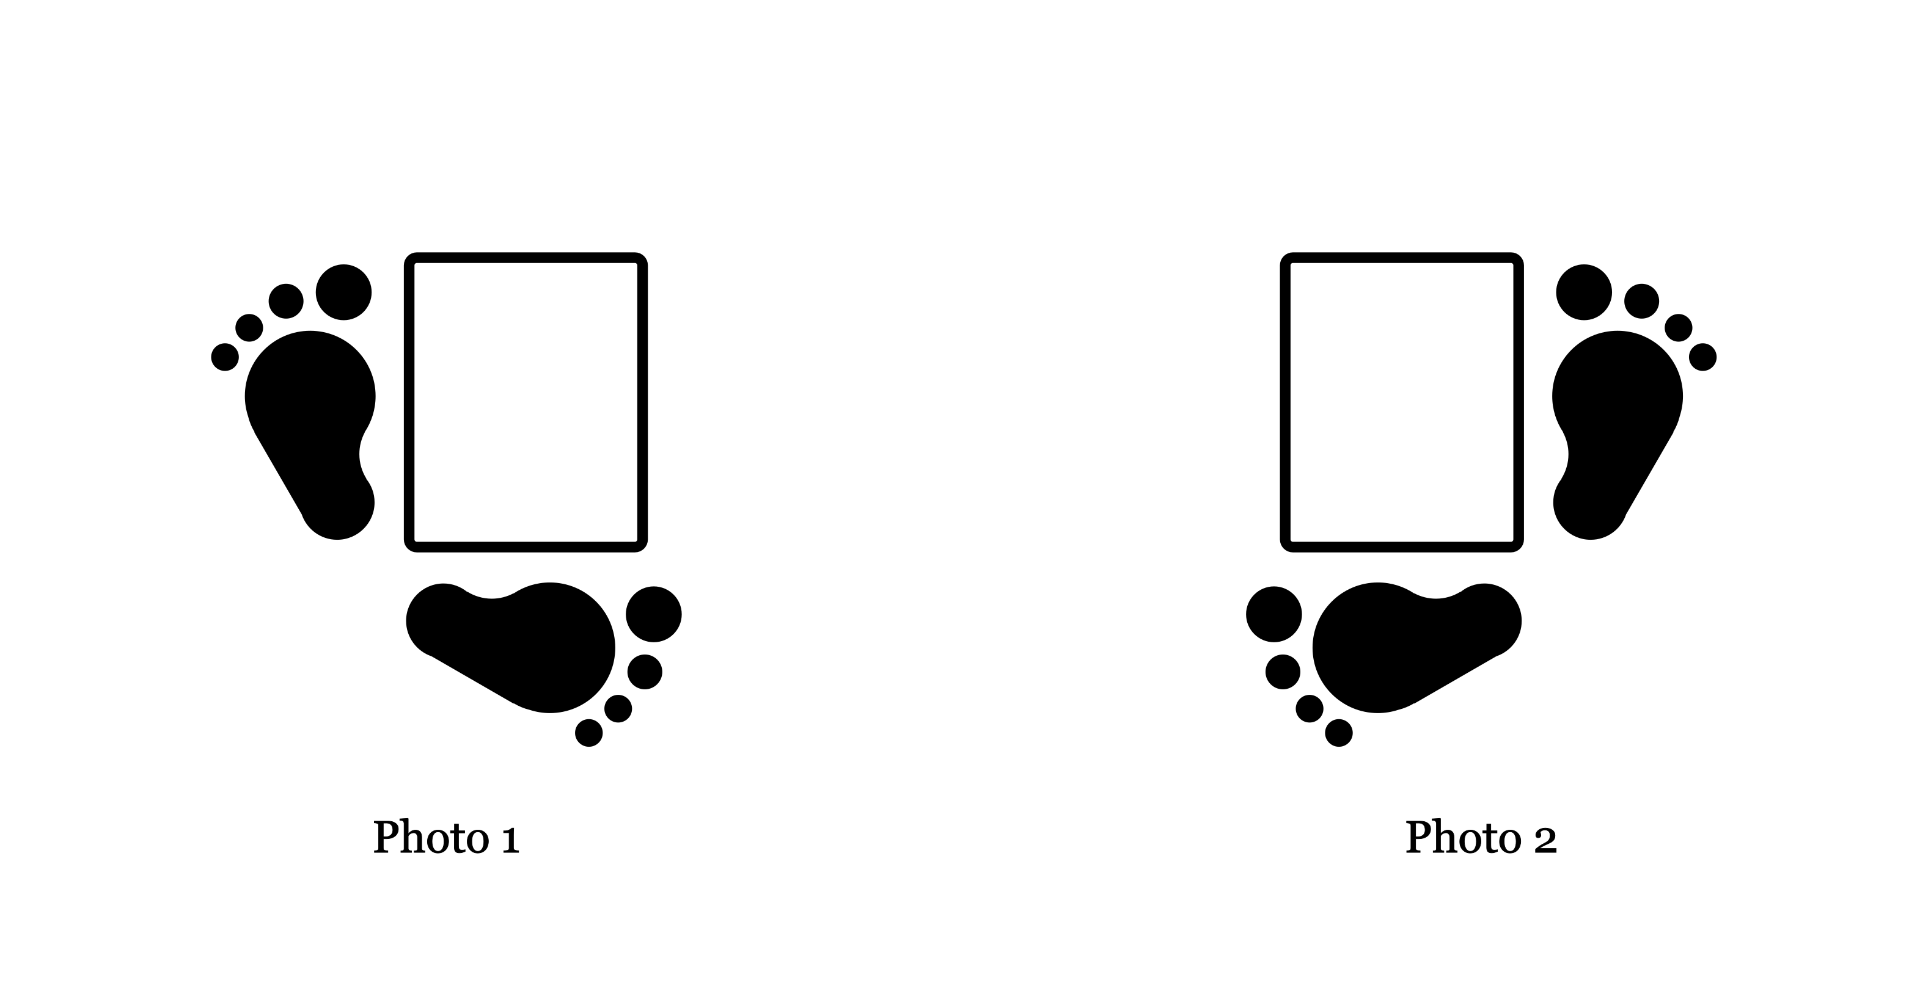
In order to get shoes I had to scan my feet. But “scan” is a weird word to use, because I really just took two photos. I won’t share the photos here, but basically I used my mobile to take two photos. I placed my feet as shown in the two positions below with a letter-sized sheet of paper next to them.

foot-scans

That’s it. Two photos. I really expected a lot more. It reminded me of the magic of the Shaper Trace I’ve used in the past.

I’m actually excited to see how the fit works. I usually hate buying shoes because determining the size is a nightmare for me, and I definitely have at least two pair right now that just do not fit right and it’s annoying.

It’ll be a while before the shoes arrive, but when they do I’ll do a write-up about them.

In the meantime if are interested in getting a pair of shoes you can use the code KOL-PETE to get a $30 discount off a first pair through Dec 31st, 2026.


Note: This post may contain Affiliate Links. Read More.
Categories
Uncategorized

MacMD Viewer

The author of MacMD Viewer got in touch with me and asked if I would be interested in looking at it. It’s a commercial application with various pricing, starting at $19.99 for use on a single computer (at a time), and while I’m glad it’s a one-time purchase and not a subscription, I don’t think it’s for me.

Here’s what the author had to say after reading one of my Bear posts.

MacMD Viewer is a small read-only Mac app for reading Markdown files, and readability is most of what it does: 12 themes, light and dark mode, zoom, and a spacebar preview in Finder. There’s no theme file to hand-edit, though.

It is a nice looking application, and if you want a commercial application that can read (but not write) Markdown files, maybe it’ll work for you. Here’s why it’s not for me.

Read-only? It just reads Markdown files. I also want to write in Markdown. I do it in Bear, and I do it in files that live in the file system. A Markdown file viewer isn’t useful for me.

It’s commercial… I mean, that’s not a deal breaker, and if it could write Markdown I’d like it much more. As it is though, I have a good solution with MacDown 3000, which is open source. But wait… First, see the comparison page.

MacMD Viewer seems to be all about AI, and if you know me… you know I hate AI. I actively avoid applications that have AI, were written with AI, or have anything to do with AI, but…

The world is complicated. While I love MacDown 3000, there are some issues.

Is MacDown developed using Claude? Sigh… it looks like it. And that’s the dilemma. MacDown 3000 is a tool I like/use, but it’s also open source. Would the maintainer drop developing it if they didn’t get assistance from AI to make development easier/faster? This is our modern day struggle.

And I have no solution… I absolutely want a macOS application that can read and write Markdown files. MacMD Viewer isn’t it. MacDown 3000 is it, but I don’t love the AI/LLM stuff, though if it’s only used for development and I never ever see any evidence of it while using the software, maybe I just have to live with that… for now.

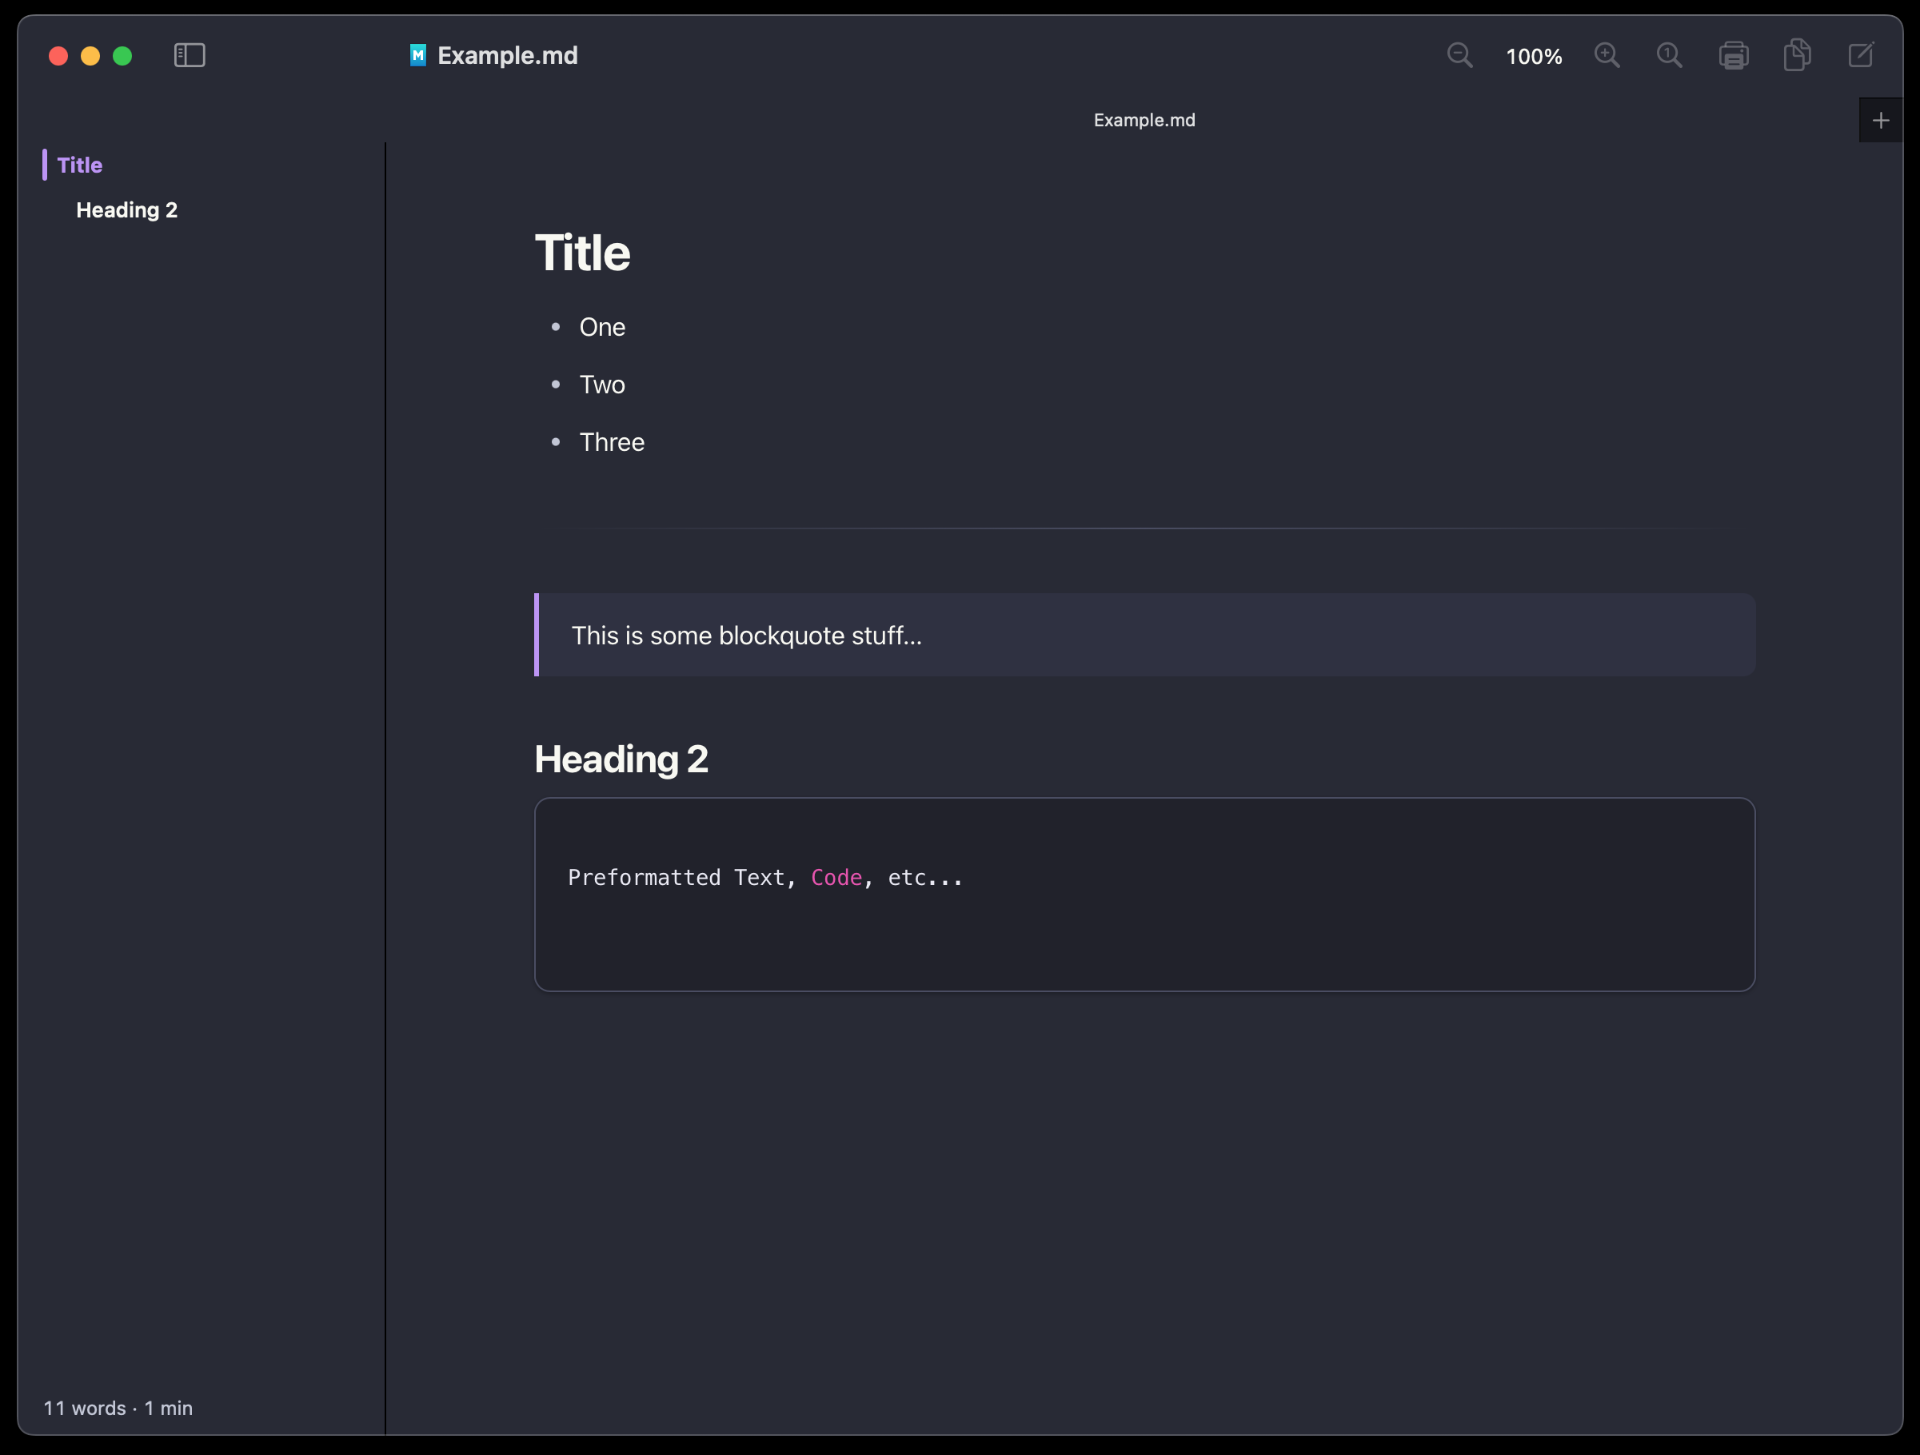
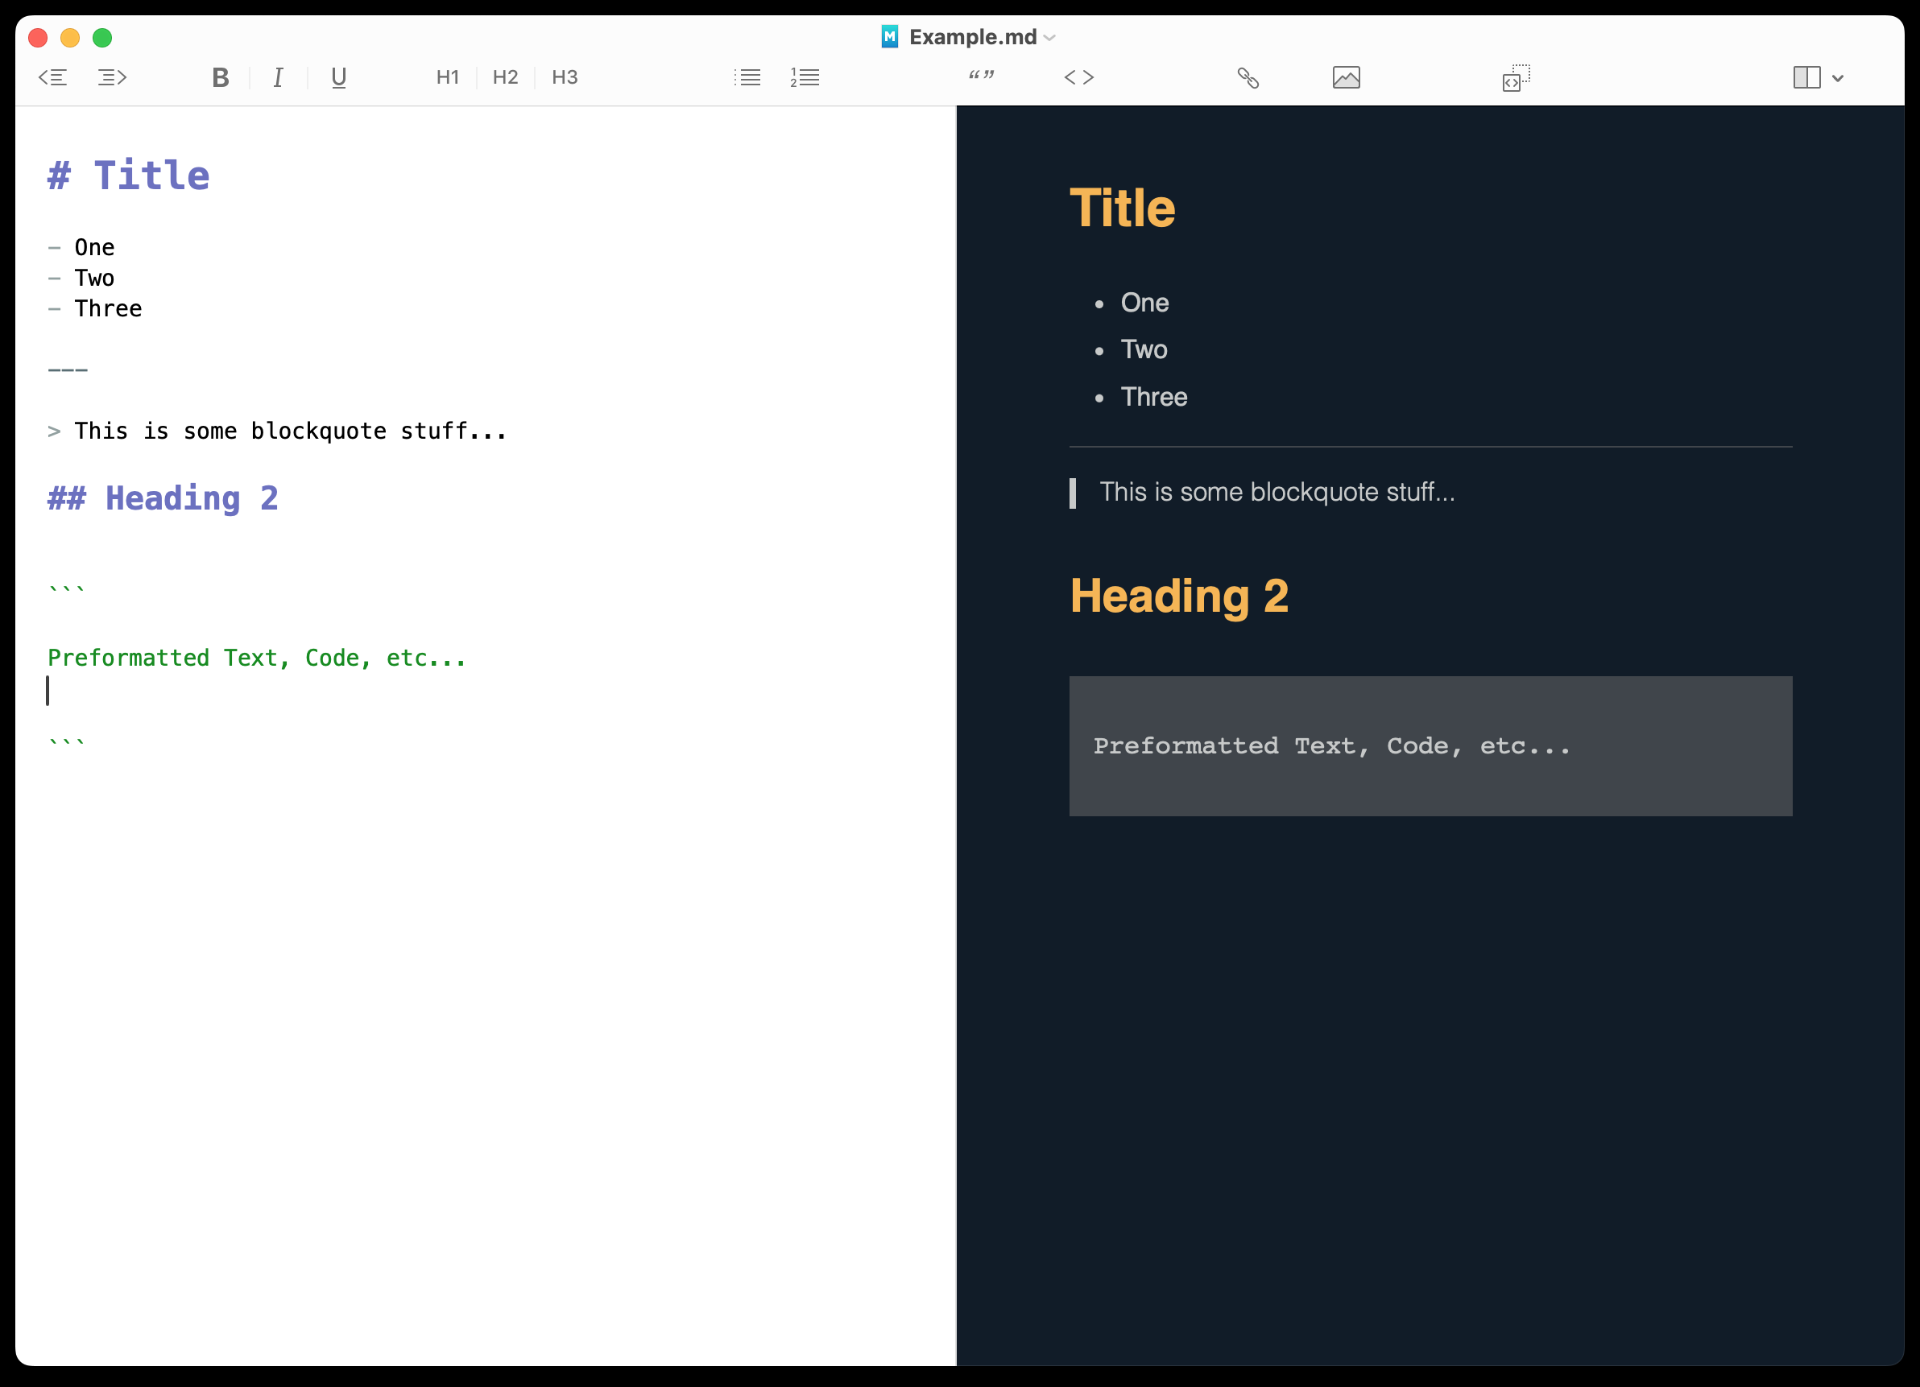
Here’s MacDown 3000 with a theme I edited to make look like my Bear theme. (Also, some Fediverse rambling.)

Categories
Uncategorized

Week (Month?) Without Driving

Bike to work

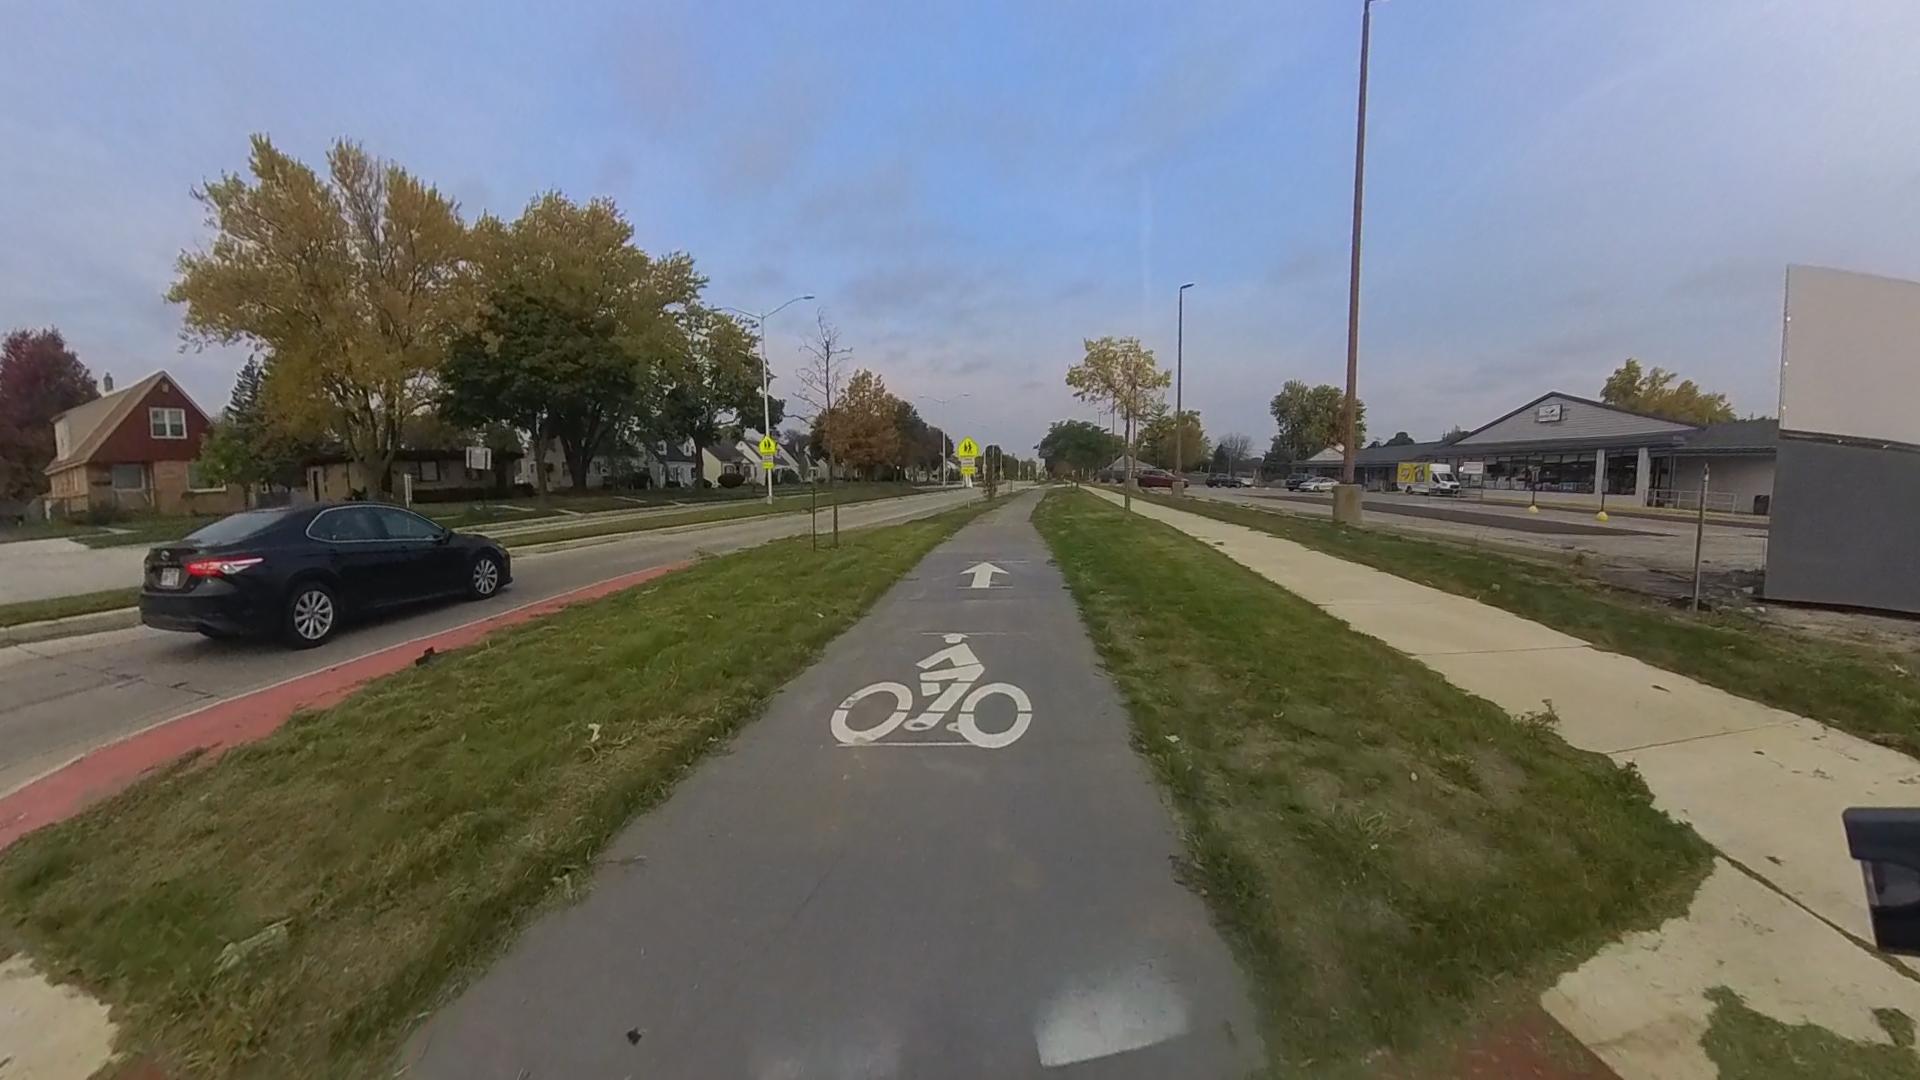
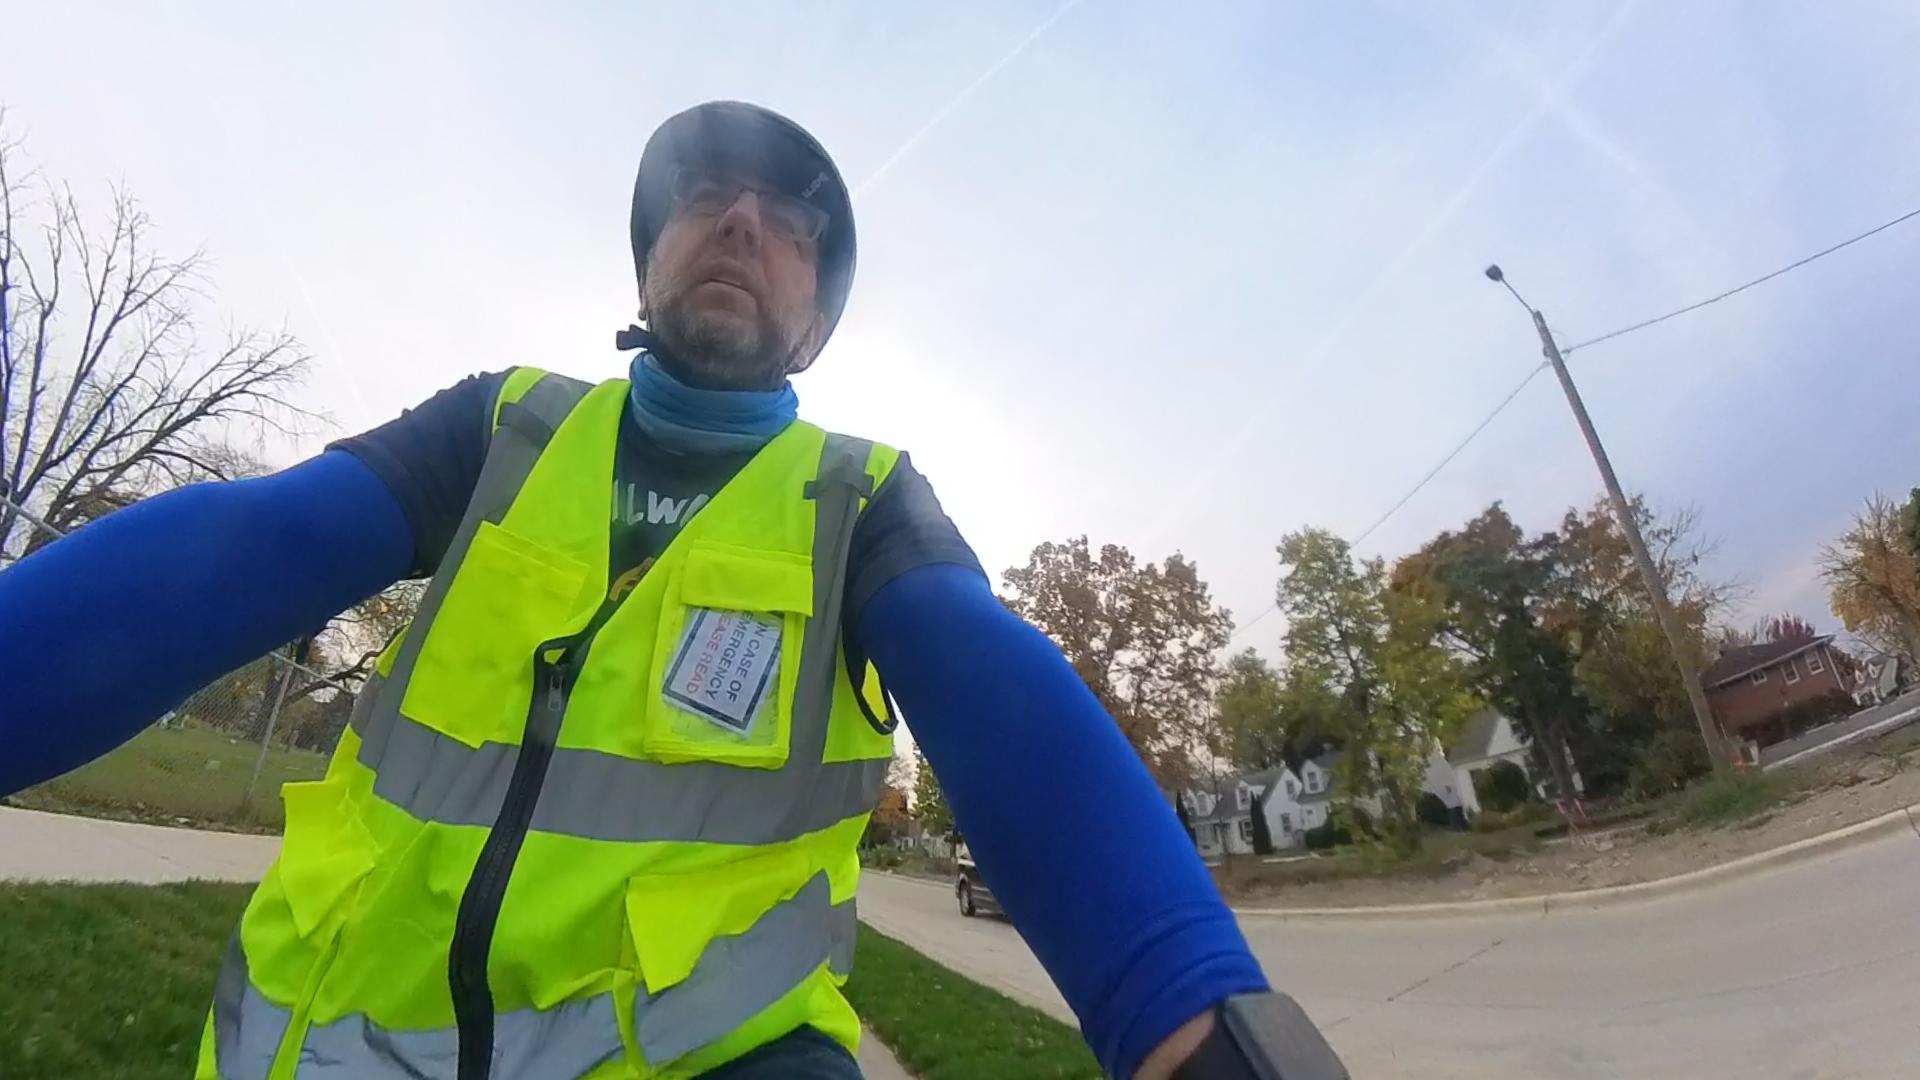
Back in September I mentioned Living (Almost) Car-Free, and since the first week of October is Week Without Driving I figured I would give that a go… and it was easy for me since I bike to work whenever I can. (And I have a partner who usually drives when we go places.)

Of the 20 days I went to work in October I only drove one. I had a dentist appointment in the morning and then had to transport a bike wheel to the bike shop, which was much easier to do with a car. Still, 19 out of 20 work days isn’t too bad.

Bike to work

I did also drive one night when there was a party at someone’s house and I was already headed there late. (Dana skipped the party.) And finally, I drove to a celebration of life thing in Bay View. In total I think I drove three days in October. It’s not “Car Free” but it is “Car Lite”.

I found that on the days I did drive to work I made attempts to stack up errands. So if I was driving due to a dentist appointment, I’d also try to stop by the grocery store to grab things. Some of this could lead to fewer car trips, though it sometimes meant waiting a week or more to get to a place for something.

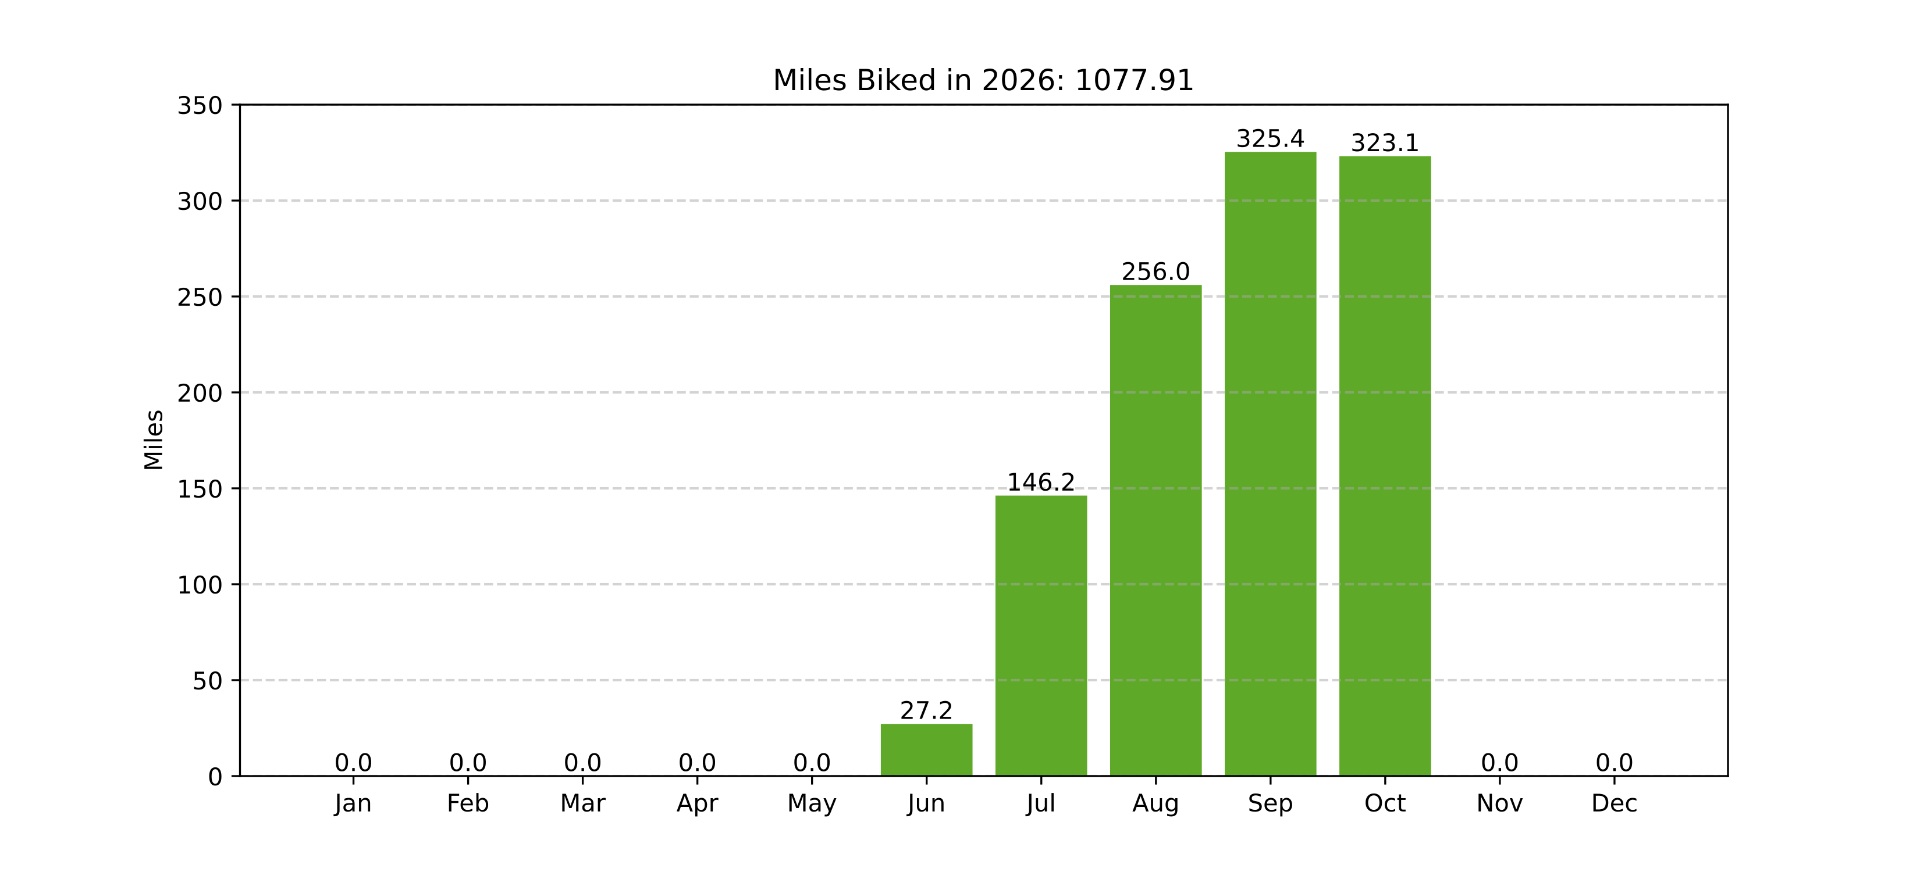
Bike riding graph

So far this year I’ve bike to work 56 times, and (in theory) I could get another 38 or so depending on December. I already know there’s one day in November I’ll need to drive.

With gasoline close to $4 USD per gallon I’m probably saving at least $12 per week by not driving. (That’s just fuel cost, not counting wear & tear and vehicle maintenance.)

Of course it’s also close to December, when my body typically breaks down and ruins everything… so we’ll see how it goes!